Ramp gradient standards and how they affect a site plan
Typical ramp slope ratios, landing rules, and how gradient requirements change the way you draw a ramp on a site plan.
Saumyajit MaityUpdated 27 April 20266 min read

A ramp is a ratio before it's a drawing
Before you draw a single line for a ramp, the gradient is already decided, because it's expressed as a ratio of rise to run, the same way a drawing's scale is expressed as a ratio, and that ratio is what determines how long the ramp physically has to be for a given change in level. A one-metre rise at a 1:12 slope needs a twelve-metre run, and no amount of clever drafting shortens that once the rise and the maximum allowable gradient are both fixed by the site and the code, so the length of a ramp is really a downstream consequence of two numbers you should confirm before you start laying it out on the site plan.
This is the thing that trips up drafters who are used to designing the geometry first and checking compliance after, because with ramps it genuinely has to go the other way around, gradient and rise first, then the footprint follows.
The gradient ranges that come up most often
Maximum slope requirements vary by code and by how much total rise the ramp is covering, so these are working ranges rather than fixed figures to confirm locally, but 1:12 is the maximum you'll see cited most often for short accessible ramps under codes like the ADA, while a gentler 1:15 to 1:20 is frequently preferred or required where the total rise is greater, since a long ramp at 1:12 becomes genuinely exhausting to use even though it's technically compliant. Some jurisdictions cap the maximum rise permitted between landings on a 1:12 ramp at a fairly modest figure, often somewhere in the range of 750mm, which forces a landing into the design well before you might otherwise think to add one.
At the end of the day, a shallower gradient is almost always the better design choice where the site allows it, and 1:12 should be treated as a maximum you're allowed to use, not a target you're aiming for.
Cross slope, the gradient running side to side across the ramp's width rather than along its length, is a separate figure worth checking too, usually capped quite low, often in a similar range to the parking bay slope limits discussed elsewhere, since a ramp that's correctly graded along its run but tilted across its width can still be uncomfortable or unsafe to use.
Landings, and why they're not optional breathing room
Every ramp gradient standard I've worked with pairs the maximum rise-per-run with a landing requirement, a flat, level rest area at the top, the bottom, and at intervals along a long ramp, plus wherever the ramp changes direction. Landings typically need to be a certain minimum length in the direction of travel, often in the range of 1200 to 1500mm, and they need to be genuinely flat, not a shallow continuation of the ramp grade, because they're the point where a wheelchair user stops pushing and repositions.
On a site plan, this means a ramp is rarely just one straight run even when the site would allow it, because the moment total rise exceeds the maximum allowed between landings, you're drawing at least one flat landing segment into the middle of the ramp, which changes both its footprint and its visual read on the drawing.
Drawing gradient accurately in the plan and section
In plan view, a ramp reads mostly as a rectangle with direction arrows and a slope callout, but the gradient itself is really a section-view problem, and I always cross-check a ramp's plan footprint against a quick section sketch before finalizing dimensions, because it's very easy to draw a plausible-looking ramp in plan that turns out to be steeper than intended once you actually work out the rise over that run. Annotating the slope directly on the plan, written as a ratio like 1:12, alongside a total rise figure, gives reviewers everything they need without forcing them to cross-reference a separate section sheet.
Handrail and edge protection requirements typically kick in above a fairly low threshold, often measured either by total rise or by ramp length, so once you've confirmed the gradient, it's worth checking whether that specific ramp now also needs continuous handrails on both sides, since that's a common miss when a ramp is added late to a site plan that was otherwise finished.
Where ramps connect to the rest of an accessible route
A ramp rarely stands alone in a drawing, it's usually the transition between a parking area and a building entrance, or between two levels of a site, so it's worth checking the ramp gradient alongside the accessible parking bay layout on one end and the clear door opening width on the other, since a beautifully compliant ramp that dead-ends at a door too narrow to use doesn't actually solve anything for the person it's meant to serve. Treating the ramp, the landing at its top, and the entrance as one continuous check rather than three separate ones tends to catch these gaps before construction documents go out. Many entrances pair the ramp with an adjacent stair for visitors who prefer stairs, and it's worth checking that stair's rise and going against the same accessible design intent while you're at it, since a mismatched pairing, a gentle ramp next to a needlessly steep stair, tends to stand out on review.
Existing sites and retrofit ramps
Retrofitting a ramp onto an existing building is where gradient standards get tested hardest, because the available run is usually fixed by the site, a property line, an existing path, or a step that's already close to the building, and if the required run for a compliant gradient doesn't fit the available space, a straight ramp genuinely isn't an option. Switchback ramps, folding the run back on itself with a landing at each turn, are the common solution, and while they take more drafting time to lay out correctly, since each landing and each direction change needs its own clearance check, they're often the only way to fit a compliant gradient onto a constrained site. I've drawn more than a few of these where the first straight-ramp concept simply didn't fit once the actual rise was measured against the available run, and switching to a folded layout was the only way to hit the required slope without regrading the entire site.
Blocks that help communicate a ramp on a site plan
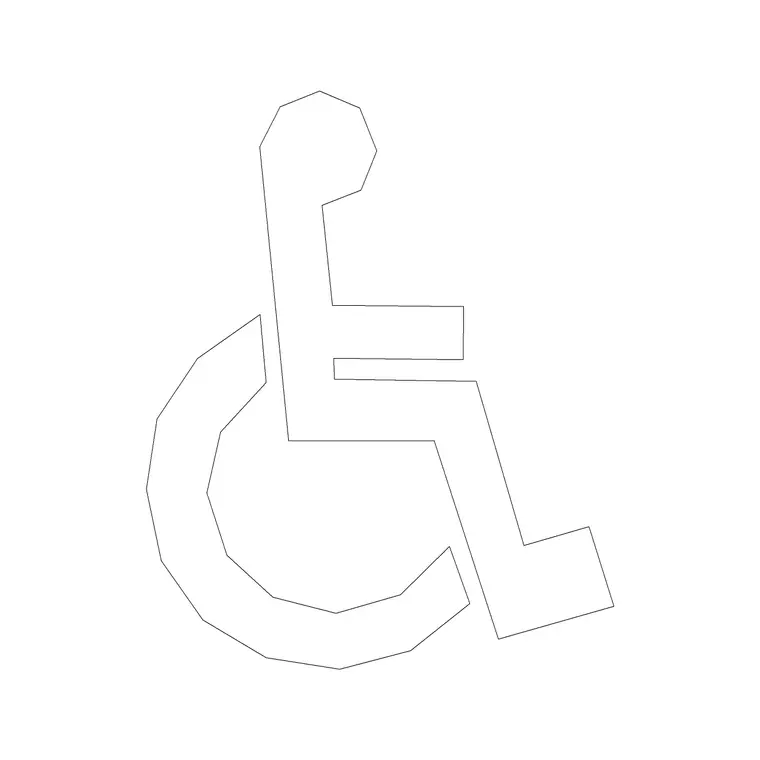
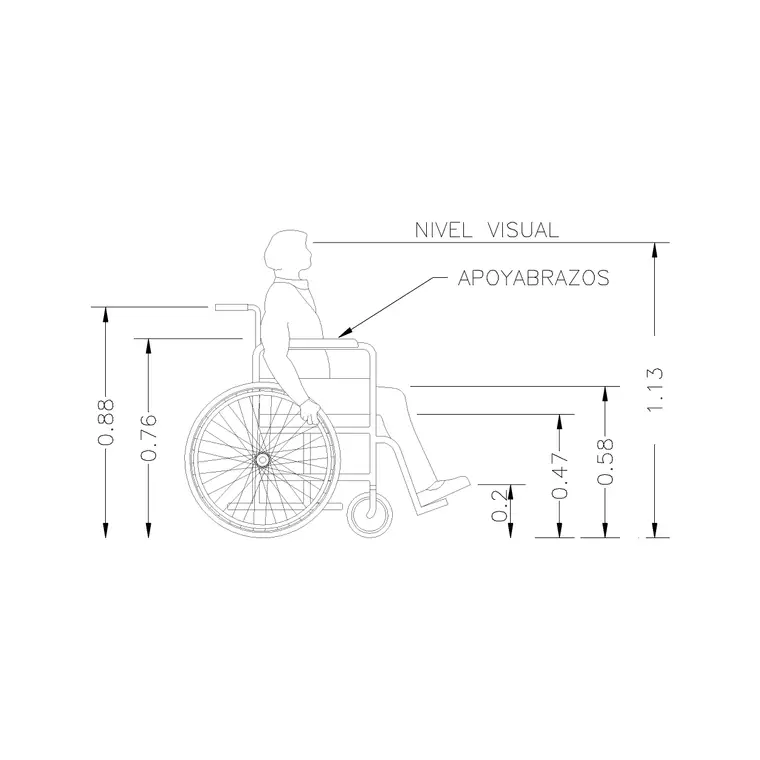
A wheel-chair-accessible block placed on the ramp itself, ideally at the steepest run and again at a landing, is a quick way to show scale and intended use without adding more annotation to an already busy site plan sheet. You'll find both wheelchair variations under the building-symbols category on this site as free DWG downloads, and pairing one with a human-figure-disable block near the entrance the ramp leads to helps tie the ramp, the landing, and the doorway together as a single accessible path when a client or reviewer is walking through the drawing.
Further reading
Questions
Frequently asked
What is a typical maximum ramp gradient for accessibility?+
1:12 is the maximum commonly cited for short accessible ramps under codes like the ADA, while gentler slopes around 1:15 to 1:20 are often preferred or required for ramps covering a larger total rise. Always confirm the figure for your specific code and rise.
How often does a ramp need a landing?+
Most standards require a level landing at the top, the bottom, at direction changes, and at intervals once total rise between landings passes a set maximum, often cited around 750mm on a 1:12 ramp. The landing needs to be genuinely flat, not a shallow continuation of the slope.
Should ramp gradient be checked in plan or section?+
Both, but the gradient itself is fundamentally a section calculation, rise over run, so it's worth sketching a quick section alongside the plan footprint to confirm the ratio before finalizing ramp length on the site plan.
Free downloads from this article

Free CAD block library
Download the blocks from this article — free, no signup

