Kitchen Island Pendant Lighting: Spacing and CAD Block Placement
How many pendants an island actually needs, where to center them, and which suspended light CAD blocks to pull for the plan and elevation.
Saumyajit MaityUpdated 7 July 202610 min read
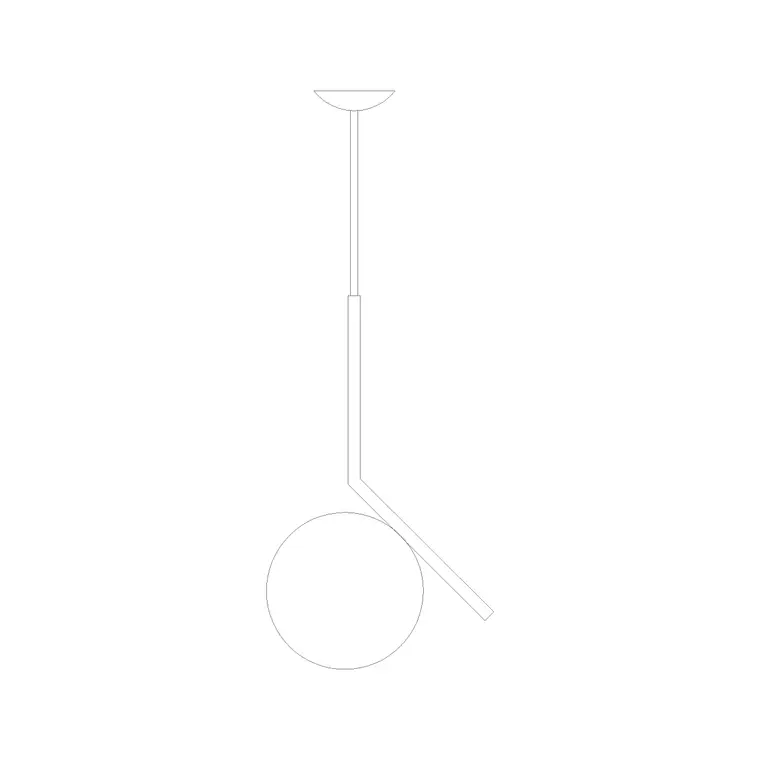
The island pendants are the fixture everyone photographs
Every kitchen drawing I've worked on in the last few years has had some version of the same client comment scrawled in the margin, can we see the pendants over the island bigger, and it's not really about the fixture itself, it's that the island is the one place in a kitchen where people actually stand around and look up, so the lighting above it carries more visual weight than the task lighting under the cabinets or the recessed cans scattered across the rest of the ceiling.
Getting island pendant spacing right is a smaller technical problem than it looks, it's really just three decisions, how many fixtures, how far apart, and how far down, and once you've made those three calls correctly the actual CAD placement is a five minute job, the trouble usually comes from skipping straight to picking a pretty pendant block before working out the spacing math underneath it.
Our suspended light family alone runs to dozens of elevation and plan variants, so there's no shortage of options once you know what you're looking for, the harder part is the layout logic that decides how many of them belong over your specific island and where, and that's really the whole subject of this post, the spacing decision rather than the aesthetic one.
It's worth saying upfront that none of the numbers below are a code requirement or a fixed manufacturer spec, they're working conventions that most kitchen designers land on independently, useful as a starting point you then adjust against the actual island in front of you rather than a rule you follow to the millimeter.
How many pendants an island actually needs
The rule most kitchen designers converge on is roughly one fixture for every 750mm to 900mm of island length, so a compact island around 1500mm to 1800mm long typically reads best with two pendants, and anything stretching past about 2100mm to 2400mm usually wants three, with a long island beyond that occasionally taking four spaced evenly rather than clustered toward one end.
The instinct on a small island is often to squeeze in three fixtures because it looks generous, but two well spaced pendants over a shorter island almost always reads cleaner than three crowded ones, because the eye picks up the uneven gaps immediately once you go past what the length can comfortably support, and an odd number of tightly packed lights over a short island tends to look like an afterthought rather than a considered layout.
For asymmetric islands, ones with a sink bowl on one end and open counter on the other, it's worth biasing the spacing slightly toward the seating side rather than centering purely on the island's overall length, since that's the zone people actually gather in and where the light is doing the most functional work.
On a genuinely long island, past four meters say, a run of matching pendants can start to feel repetitive rather than generous, and this is one of the few situations where it's worth considering breaking the run into two shorter groupings with a small gap between them, over the prep zone and over the seating zone separately, rather than one continuous evenly spaced line the entire length of the counter.
The suspended light blocks that cover this job
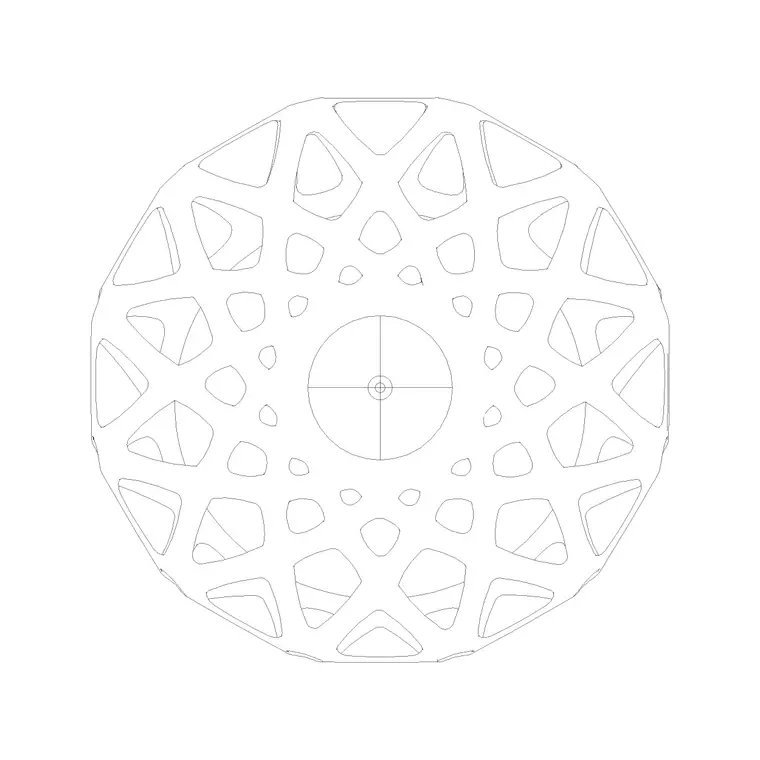
The library carries a long run of generic pendant style fixtures under the suspended light naming, dozens of elevation variants and a similarly deep set of plan variants, and this is the family to start with for a standard island pendant run, the profiles vary from simple drum and cone shades through to more open wire frame silhouettes, so you can usually find something close to the finish the client has in mind without needing anything custom drawn.
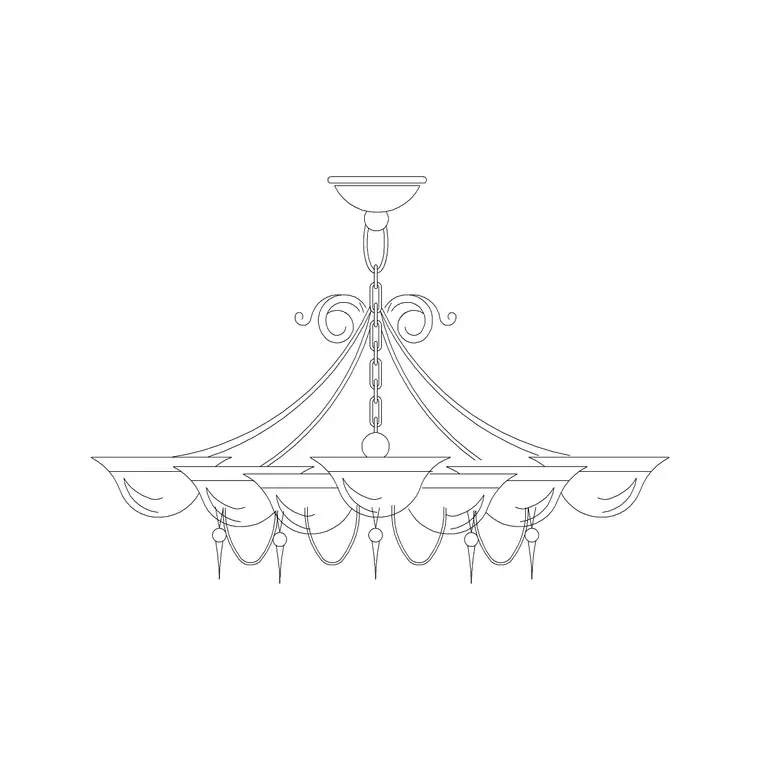
If the brief calls for something with more presence, a design forward island rather than a purely functional one, the small metal frame chandelier block or one of the plain suspended chandelier variants works as a single statement fixture centered over a shorter island instead of a row of matching pendants, and I've swapped this in more than once on a kitchen that's meant to double as an entertaining space rather than a purely functional cooking zone.
Whichever family you pick, grab the plan version to place in the reflected ceiling plan and the matching elevation to drop into your kitchen elevation sheet, since the island elevation is usually the drawing the client actually reviews with the design team, and an island with no pendant shown in elevation reads as unfinished even if the ceiling plan is technically complete.
Mixing two different suspended light blocks across one island run, rather than repeating the exact same block three times, is a subtle move worth trying on a design forward kitchen, as long as the two profiles share a similar overall scale and finish family, since visually related but not identical pendants over an island read as curated in a way three identical fixtures sometimes don't.
Center on the island, never on the room
The single most common placement mistake with island pendants is centering them on the kitchen's walls rather than on the island itself, which matters because islands are almost never centered in the room they sit in, there's usually more clearance on one side for a walkway or an appliance run, so a pendant line centered on the room will visibly miss the island by the same offset.
The fix is straightforward once you know to look for it, snap your spacing construction lines to the island's own centerline and edges, not to the room's, and divide the island's usable length by the fixture count you settled on to get even spacing between fixture centers, then check that the end fixtures still sit a reasonable distance in from the island's short edges rather than crowding right up against them.
If the island has a mixed use layout, a cooktop on one end and a seating overhang on the other, it's worth biasing the pendant spacing slightly rather than distributing purely evenly, keeping a fixture directly over the seating overhang matters more for the finished look than perfect mathematical symmetry across the whole island length.
A quick way to catch this error before it leaves your desk is to overlay the pendant plan symbols directly on top of the island block itself as one grouped selection, rather than eyeballing the distance between two separate objects on the layer, since grouping them forces you to actually measure the relationship rather than trust your eye, which is exactly the step that gets skipped when a drawing is due at the end of the day.
Drop height and stool clearance
Drop height is where island lighting differs most from other ceiling fixtures, because there's furniture directly underneath it that people's heads pass close to, and the working range most kitchen references land on is roughly 750mm to 900mm from the underside of the fixture down to the countertop, which usually keeps the shade below eye level while seated but well above eye level while standing and moving around the island.
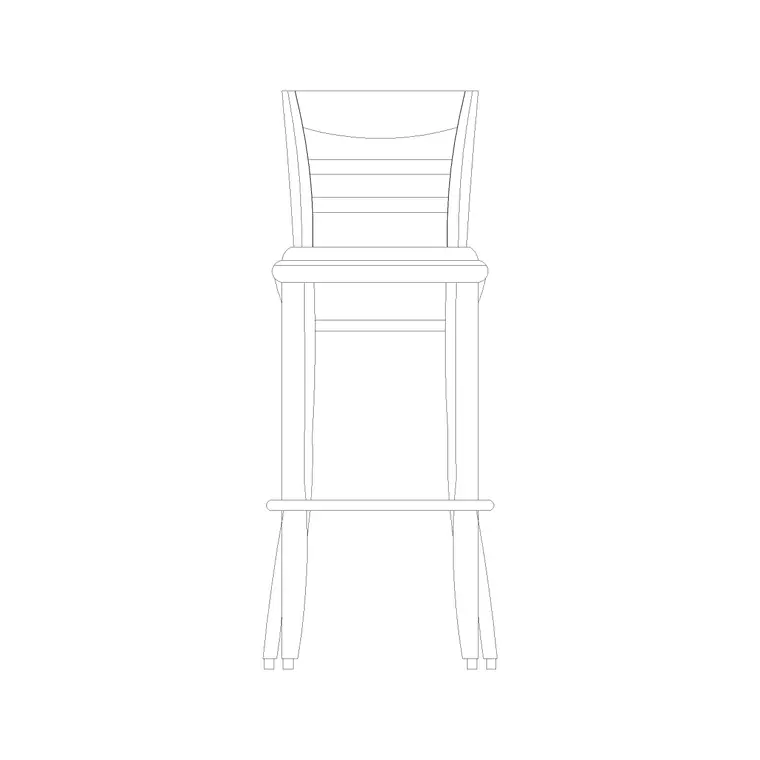
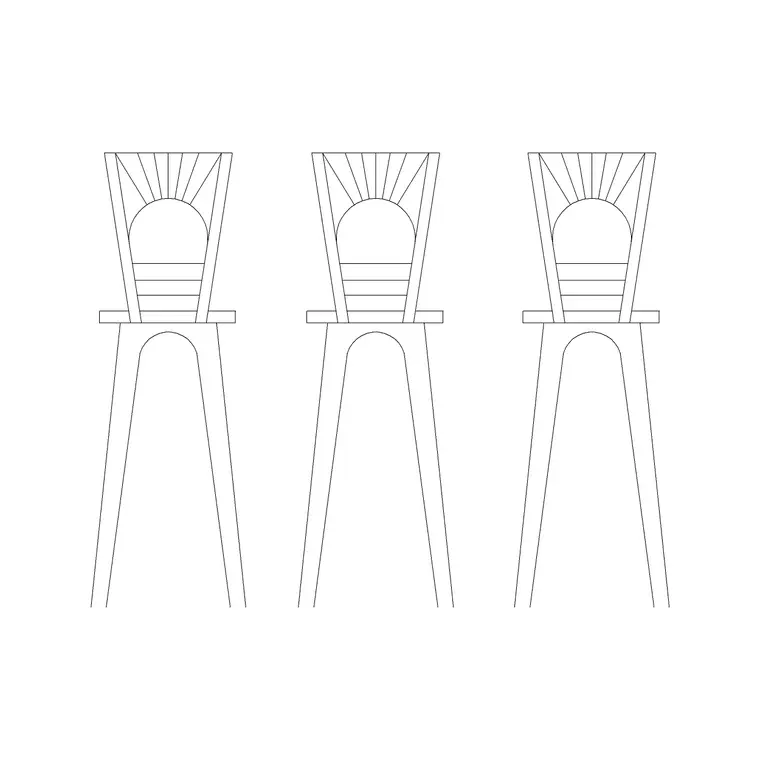
That range only works if you've actually checked it against the stool height you're specifying, because a taller bar stool eats into that clearance fast, and this is where pulling the wooden bar stool or bar stool elevation blocks into the same elevation sheet as your pendant blocks pays off, you can see the seated eye line relative to the fixture drop directly on the drawing instead of estimating it separately in your head.
Ceilings that run higher than a standard residential height give you more room to work with, and the temptation is to drop the fixture lower just because the height is available, but stretching much past roughly 900mm from countertop to fixture starts to feel low regardless of the ceiling above it, since the relationship people actually register is fixture to counter, not fixture to ceiling.
It's worth double checking this clearance specifically for anyone walking behind a seated stool user too, not just the person seated at the island, since a fixture that clears a seated head comfortably can still sit at an awkward height for someone standing and reaching across the counter from the far side, and that's a clash that's easy to miss if you're only checking the seated sightline.
Coordinate the elevation with the counter below it
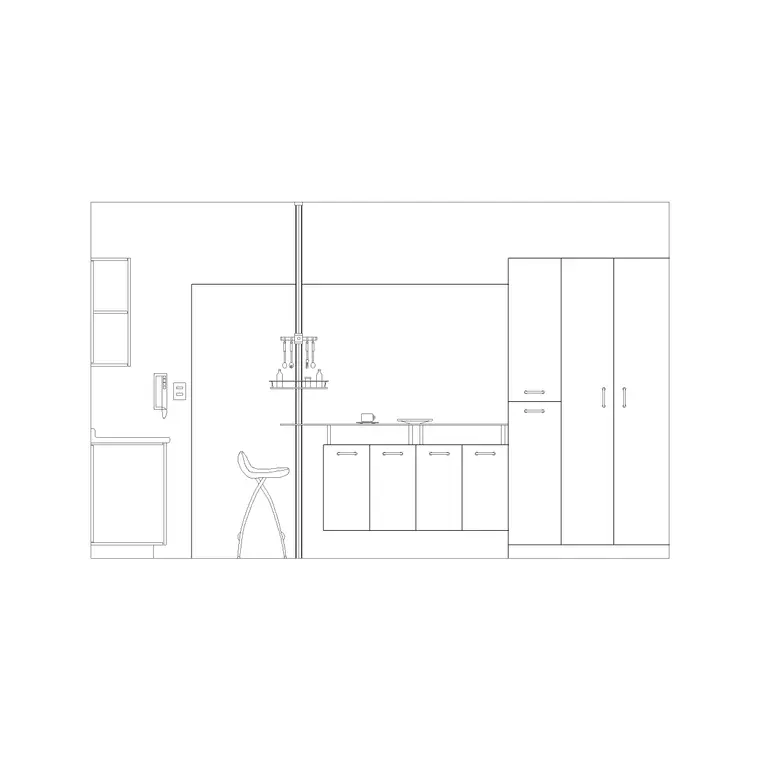
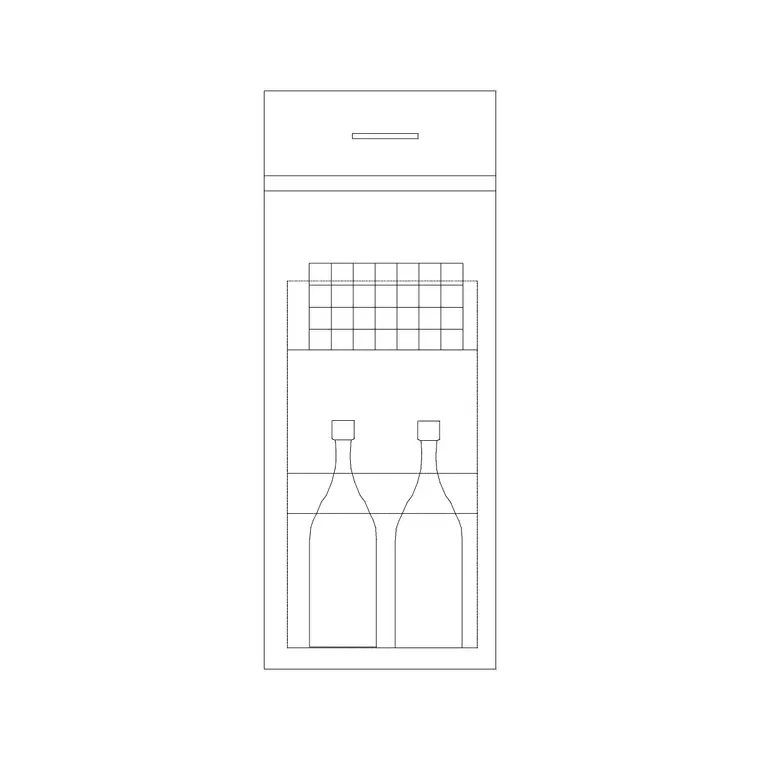
An island elevation with pendants floating over a blank rectangle doesn't read as finished, and it's worth pulling in the kitchen counter elevation block or a cabinet block to sit beneath the pendant row so the drawing shows the actual relationship between the fixtures and the surface they're lighting, which is also the fastest way to sanity check your drop height visually rather than trusting the numbers alone.
This is a small habit but it changes how a client reads the sheet, an island elevation that shows the counter, the stool, and the pendant together in one drawing answers the height and spacing questions before anyone has to ask them, whereas a plan only submission tends to generate a follow up email asking how far down the lights actually hang.
It's also just faster for you later, because once the elevation is built with all three elements in place you can reuse it as a template for the next island job, swapping the pendant block and adjusting the spacing math rather than rebuilding the whole composition from a blank sheet each time.
On projects where the island includes an overhead extraction hood rather than a wall mounted one, it's worth checking the pendant elevation against the hood's own drop as well, since a hood and a row of pendants competing for the same airspace above the island is a coordination problem that's much easier to catch on a combined elevation than across two separate trade drawings.
A quick note on kitchens without an island at all
Not every kitchen has an island to hang pendants over, and on a galley or single run kitchen the temptation is to just drop the same suspended light blocks over the main counter run instead, which works fine functionally but the spacing logic changes slightly, a counter run along a wall is usually lit primarily by under cabinet task lighting rather than suspended pendants, so a single pendant or a short pair over a sink or a breakfast bar section reads better than trying to replicate a full island length spacing rule across a counter that isn't really designed to be a gathering point.
For a peninsula, a counter that extends out from the wall run but doesn't form a full island, the same one fixture per 750mm to 900mm guidance still applies reasonably well, since a peninsula functions closer to a half island in terms of how people actually stand and sit around it, and treating it that way rather than as an extension of the wall counter tends to produce a more sensible pendant count.
The underlying principle carries across all three layouts regardless of the specific spacing numbers, the suspended light family is the right starting point for any horizontal counter surface that people gather around, and the difference between an island, a peninsula and a straight run is really just how much of that surface actually needs dedicated pendant coverage versus relying on ambient and under cabinet lighting to do the rest of the work.
Pulling the blocks together
Start with the length of the island and the one fixture per 750mm to 900mm rule to settle on a count, pick a suspended light plan and elevation pair or a single statement chandelier block depending on the brief, center the run on the island rather than the room, set the drop to roughly 750mm to 900mm above the counter and check it against your stool block, and finish by placing the counter or cabinet block underneath so the elevation reads as one coordinated composition rather than three unrelated symbols stacked on a sheet.
Every block mentioned here downloads as DWG with no signup wall in front of it and it's cleared for commercial project use, so there's no reason to leave the island pendant layout as a placeholder chandelier symbol borrowed from another room, the specific blocks that solve this exact spacing problem are already sitting in the library ready to drop in, and once you've built one properly coordinated island elevation, reusing that same sequence on the next kitchen job is mostly a matter of swapping dimensions rather than starting the thinking over from scratch.
Further reading
Questions
Frequently asked
How many pendant lights does a kitchen island need?+
As a working rule, plan for roughly one fixture per 750mm to 900mm of island length. That puts most compact islands at two pendants and longer islands past about 2100mm at three, spaced evenly rather than clustered.
How far should island pendants hang above the counter?+
Most kitchen references land on roughly 750mm to 900mm from the underside of the fixture to the countertop, which keeps the shade clear of a seated stool user's eye line while still reading as a proper light fixture rather than a recessed can.
Should island pendants be centered on the room or the island?+
Always the island. Islands are rarely centered in the room they sit in, so a pendant run centered on the walls will visibly miss the island itself by whatever offset the room and island have between them.
Can I use a chandelier block instead of a row of pendants over an island?+
Yes, a single smaller chandelier or metal frame suspended block works well over a shorter island when the brief calls for a design statement rather than a purely functional row of matching pendant lights.
Free downloads from this article
DWGSuspended Light Ele (1)
 DWG
DWGSuspended Light Plan (1)
 DWG
DWGSmall Suspended Chandelier Metal Type A
 DWG
DWGSuspended Chandelier Type A
 DWG
DWGWooden Bar Stool
 DWG
DWGBar Stool Elevation
 DWG
DWGKitchen Counter Ele
 DWG
DWGCabinet
Free CAD block library
Download the blocks from this article — free, no signup


