Furnishing a Master Bedroom Elevation from Free CAD Blocks
A working checklist of the real bed, wardrobe, dressing table, curtain and door blocks that actually build out a master bedroom elevation.
Saumyajit MaityUpdated 27 May 202610 min read
A master bedroom brief is a bigger checklist, not a bigger bed
The difference between a standard bedroom brief and a master bedroom one is rarely just a wider bed, it is usually a longer list of furniture that all has to read correctly on the same elevation sheet, a proper wardrobe run, a dressing table with a mirror, a side table and lamp on each side, curtains that actually cover the window opening, and often a second door or a walk through into an ensuite. None of that is a single block in any library, ours included, so what follows is the actual checklist I work from when a master bedroom lands on my desk, built entirely from real products that exist in the catalogue rather than anything invented for the sake of a tidy list.
I am going to be upfront that this is a methodology, not a single download, there is no one file called master bedroom elevation that contains everything below already assembled, you build it from the pieces the same way you would on any real project, and the order you place things in matters almost as much as which blocks you actually pick.
The reason I write these room level checklists out in full rather than just linking a search page is that most of the actual skill in this kind of drafting is sequencing and proportion, not knowing that a wardrobe block exists, and that is easier to show as a worked example than to describe in the abstract.
Start with the bed, and be honest about the size versus view tradeoff
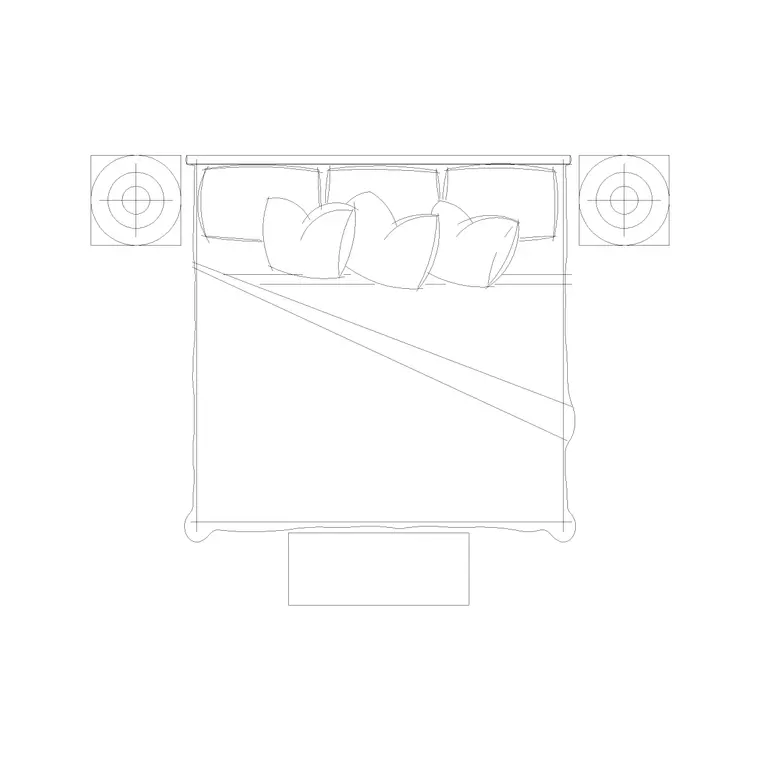
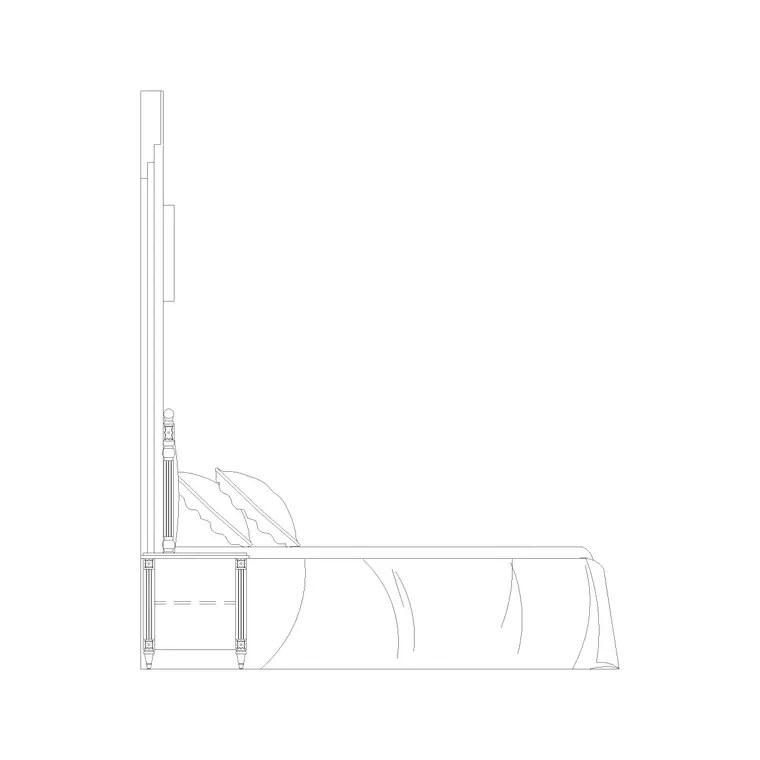
For the bed itself, 3200x2095-king-size-bed is the block to start from if the brief genuinely calls for a king, it is drawn at real world dimensions, 3200mm by 2095mm, but it only ships with plan and side views in this library, there is no dedicated king width elevation block sitting alongside it. So for the wall elevation sheet, the honest approach is to take one of the elevation view bed blocks from the numbered height run, high-back-bed-2-side-elevation-with-side-table works well for a master bedroom because the taller headboard reads more substantial against a bigger wall, and stretch its width to match the king proportions from the plan block.
That is a small extra step, exploding and stretching one dimension in AutoCAD, but it is a more honest workflow than pretending a single block covers both the plan footprint and the elevation view at true king scale, because right now nothing in the bedroom category does both at once, and I would rather flag that clearly than have someone discover it midway through a drawing set.
Once the width is stretched to match, I always double check the headboard proportions still look right at the new scale, a headboard that was drawn to look balanced against a standard double can read slightly thin once stretched out to a 3200mm king, so a small manual adjustment to the headboard panel width sometimes finishes the job better than a pure uniform stretch would.
The wardrobe run
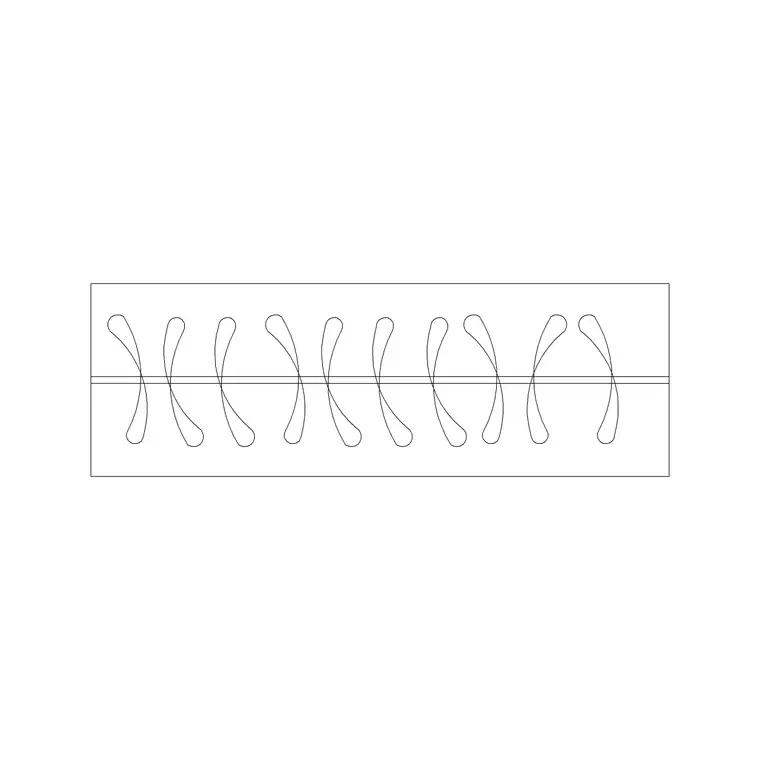
A master bedroom almost always needs more hanging space than the small room next door, and the furniture category carries 32 wardrobe blocks to pull from, mostly plan view, covering everything from a compact 2-door-small-wardrobe-plan up to several 4-door-wardrobe-plan variants including louvered shutter options for ventilated storage. For a master bedroom I usually start from 4-door-wardrobe-plan and check it against the actual wall length available, because a 4 door run needs real linear wall footage to sit flush, and cramming it into a wall that only suits a 3 door block just reads wrong on the plan even before construction starts.
Worth noting these are plan view blocks, if your set also needs a wardrobe elevation showing shutter detailing and handle placement, that is a separate drawing exercise the plan block will not carry for you automatically, so budget time for that if the client wants to see the wardrobe face rather than just its footprint on the layout.
I also check the wardrobe against the bed placement at this stage rather than after, a 4 door run wants a clear approach path in front of it, and if the bed footprint or a side table has already eaten into that path, it is far easier to shift the wardrobe by a door count now than to discover the clash once both are dimensioned and the client has already approved the layout in a meeting.
Dressing table and mirror
This is where a master bedroom genuinely differs from a standard one, a proper dressing table with a mirror is close to a given in the brief, and dressing-table-with-mirror-and-drawer is the block I reach for most because it documents both the surface and the storage drawer in one symbol rather than making you place a separate mirror block and align it by eye. The furniture category carries 18 dressing table variants in total, including options with curved mirrors, round mirrors and ottoman seating built in, so if the brief calls for a specific look there is usually a closer match than the default.
Placement matters more than the block choice here, a dressing table facing a window gets natural light on the mirror which is what most clients actually want, so I check the window position on the plan before locking the dressing table location in, not the other way round, since moving a dressing table after the window has already been drawn is a five second job while moving a window after the wall elevation is signed off is not.
Side tables, lamps and the elevation sheet
For the elevation drawing, a bed block that already bundles a side table and lamp saves a step, 550-mm-high-bed-side-elevation-with-side-table-lamp does exactly that, and if the master bedroom brief wants matching lamps on both sides rather than one, mirroring that block for the opposite side keeps the proportions consistent instead of pulling in a completely different lamp block and risking a mismatch in scale. If a standalone lamp is needed elsewhere in the room, away from the bed, wall-lamp in the lighting category is a straightforward generic block that works for a reading corner or beside a dressing table without forcing you to use the bed integrated version everywhere.
The lighting category runs to 357 blocks in total, so there is plenty of room to swap in something more specific once the concept elevation is approved and the client has opinions about fixture style, a pendant over the dressing table, a different wall light finish, that kind of detail usually only firms up after the first layout review anyway.
One small habit worth keeping here, if the bed already carries an integrated side table and lamp block, resist the urge to also add a standalone lamp block on top of the same corner just because the lighting category has hundreds of options, a master bedroom elevation reads more convincing with two or three deliberate light sources than a dozen fixtures scattered in wherever there was empty wall space left.
Curtains and the window opening
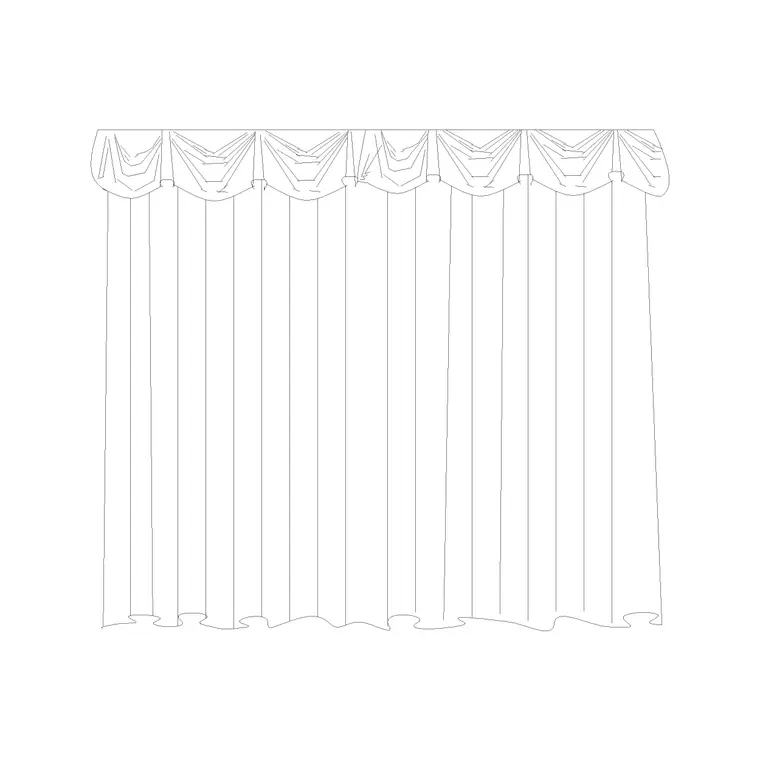
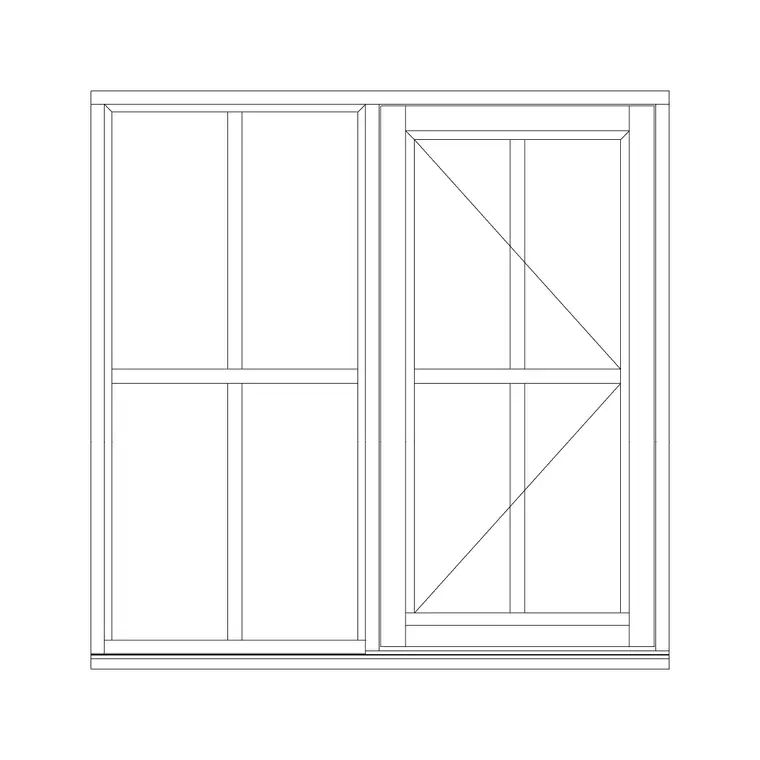
Curtain-elevation-1 is one of 31 curtain elevation blocks in the accessories category, and the actual job here is matching the curtain width to whatever window block you have used rather than picking a curtain first and forcing the window to fit it. For a bedroom opening, single-shutter-sliding-window from the windows category is a common match, and once both are placed, checking that the curtain track width actually clears the window frame on the elevation is a five minute check that saves a client site visit complaint later.
None of the 31 curtain blocks are drawn to a specific window width, they are generic drapery symbols, so stretching one to match your exact opening is expected practice rather than a workaround, the same way you would resize any furniture block to fit a real room rather than assume every block ships at your exact site dimension already.
For a master bedroom with a wider window than a standard room typically gets, I usually check whether one curtain block stretched across the full opening still reads correctly proportioned, or whether the brief actually wants two separate curtain blocks meeting in the middle, since a single panel stretched too far can start to look thin and unconvincing against a genuinely wide window.
The door, and a figure for scale
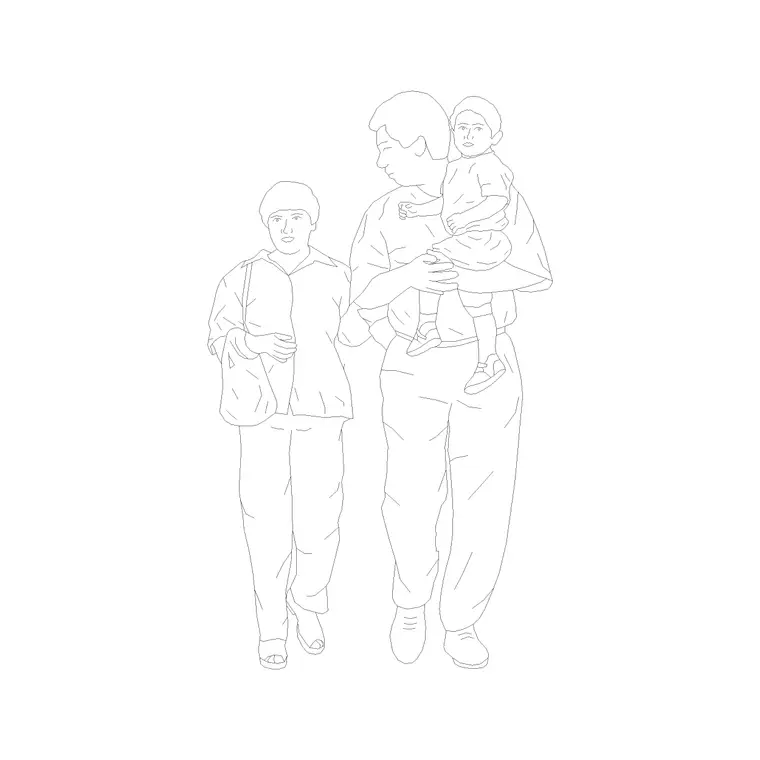
Panel-door is a solid generic choice for the bedroom entry door itself, one of 190 door blocks in that category, and for a master bedroom with an ensuite connection, checking the swing direction on the plan against the furniture layout matters more than which specific door style gets used, a door swinging into a dressing table is a genuine clash worth catching before the drawing goes out. Once the layout is largely done, dropping in a figure like human-figure-man-elevation-1 from the people category, which runs to 174 blocks total, is a habit worth keeping for any client facing elevation, because a room with no human figure in it is deceptively hard for a non technical client to read at true scale.
It is a small thing, one figure standing near the bed or the wardrobe, but it does more to help a client understand real room proportions than another line of dimension text would, especially on a master bedroom sheet that is already carrying a lot of furniture and needs to stay legible without turning into a wall of dimension strings, so keep it to one figure rather than filling the room with several, which starts to distract from the actual furniture being reviewed.
A rough sense of the room this actually needs
None of these blocks mean much without a room to test them against, so as a working reference, a king bed at 3200mm by 2095mm plus a 4 door wardrobe run plus a dressing table with reasonable circulation space around each piece typically wants a room in the region of 4.2 by 4.5 metres to avoid feeling cramped, smaller than that and something usually has to give, either the wardrobe steps down a door, or the dressing table moves into an alcove, or the king bed gets reconsidered in favour of the queen sized options drawn elsewhere in the bedroom category.
That is not a rule carved in stone, it is a starting assumption to test on your own plan before committing furniture positions, and testing it costs nothing more than inserting the blocks and looking at how much floor is left over once they are all placed.
I usually build this rough test with the biggest three items first, bed, wardrobe, dressing table, and only add curtains, lamps and the scale figure once those three agree with each other on the plan, because if the room is genuinely too tight it is much cheaper to find that out before the smaller furniture is placed than after the whole sheet is drawn and something has to be deleted to make space.
Putting the sheet together, free and tested before you commit
None of the individual blocks above are complicated to place, the actual work in a master bedroom elevation is sequencing, get the bed and wardrobe locked on the plan first since they are the biggest footprint items, then the dressing table against whatever wall still has room, then the window and curtain pairing, and only then the smaller items like lamps and the scale figure once the bones of the layout are agreed. Trying to place everything at once in no particular order is the fastest way to end up with a door swinging into a wardrobe or a curtain that does not reach the window frame.
Every block referenced here downloads as both DWG and DXF, free with no signup required and cleared for commercial use, so there is no cost to testing the 4 door wardrobe against the 3 door option on a separate copy of the plan, or the king bed against a queen sized alternative from the same bedroom category, before deciding which one actually earns its place in the room. The friction of trying an alternative layout is just the time it takes to insert a different block, not a separate purchase every time the client changes their mind about wardrobe door count or bed size, and none of it requires a paid plugin to get to the download link, which matters when a deadline is close and you just need the block inserted and moving on to the next wall.
Further reading
Questions
Frequently asked
Is there a single block that already bundles a full master bedroom layout?+
No, this is a methodology built from real individual blocks, bed, wardrobe, dressing table, curtains, door and a scale figure, there is no one download that assembles all of it already placed and proportioned for you.
Which bed block should I use for a king size elevation drawing?+
The king size product in the bedroom category, 3200x2095-king-size-bed, only ships with plan and side views, so for the wall elevation take one of the numbered elevation view bed blocks and stretch its width to king proportions rather than searching for a block that does not exist yet.
Do I need bedroom specific door and window blocks?+
No, the doors and windows categories are catalogue wide rather than bedroom specific, 190 door blocks and 27 window blocks respectively, and a generic panel door or sliding window works fine as long as you size it to the actual opening you are drawing.
What format do the wardrobe and dressing table blocks come in?+
Both DWG and DXF across the furniture category, free with no signup required, so the wardrobe and dressing table blocks referenced here open the same way regardless of which CAD software your office runs.
Free downloads from this article
DWG3200X2095 King Size Bed
 DWG
DWGHigh Back Bed 2 Side Elevation With Side Table
 DWG
DWG4 Door Wardrobe Plan
 DWG
DWGDressing Table With Mirror And Drawer
 DWG
DWGCurtain Elevation (1)
 DWG
DWGPanel Door
 DWG
DWGSingle Shutter Sliding Window
 DWG
DWGHuman Figure Man Ele (1)
Free CAD block library
Download the blocks from this article — free, no signup


