Designer pendant light blocks for a feature ceiling layout
How to scale and layer a designer pendant or chandelier block for a feature ceiling that has to read as a statement, not filler.
Sumana KumarUpdated 15 June 20265 min read

When the ceiling is the design statement
Every so often a project comes in where the client wants the ceiling itself to be the feature, a double height dining space, a lobby, a statement stair void, and in those drawings the pendant or chandelier is not just a light source, it is doing the same job a sculpture would do in the middle of the room, which changes how carefully you need to draft its placement and proportion. That shift in role is worth naming explicitly to the client early, since a feature fixture usually justifies a different budget line and a different level of drafting attention than an ordinary ceiling light does.
Round versus long suspended for a feature moment
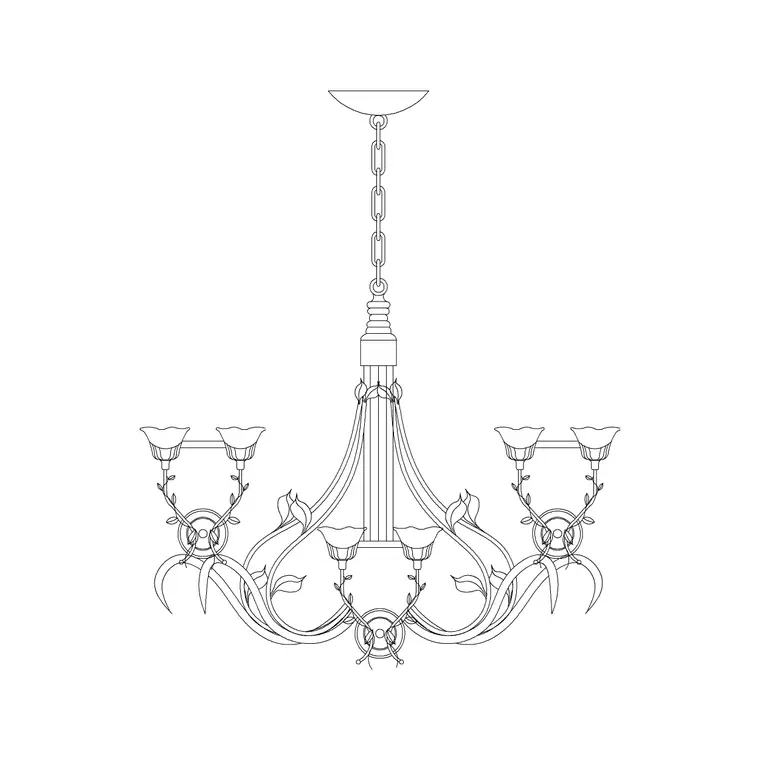
For a compact feature, centred over a dining table or an entry console, the Suspended Chandelier Round Type A block gives you a self contained, sculptural shape that reads well from every angle in the room without needing much vertical space to work with. For a feature that needs to fill height, a stair void, a double height great room, the Long Suspended Chandelier Metal Type A block is the one that actually uses the volume instead of floating in the middle of it, and it is the block I default to whenever the ceiling height itself is part of what the client is paying to show off.
Scale it to the room, not to the fixture's default size
A common mistake on feature ceiling layouts is inserting the block at its default size and calling it done, when the fixture in a genuine feature moment often needs to be noticeably larger than a standard domestic chandelier to actually read as a statement piece from across the room. Before you finalise scale, stand back mentally, or better, print the elevation at actual plot scale, and check whether the fixture reads as a feature or just as a slightly oversized standard fixture, those are different visual outcomes and the difference usually comes down to 20 or 30 percent more scale than people default to.
A useful gut check is comparing the fixture's diameter or overall spread against the width of the table or the floor area it sits above, a pendant that reads as roughly a third to half the width of a dining table below it tends to feel proportionate, while anything noticeably smaller can start to look like an afterthought rather than the room's intended focal point.
A cluster of two or three smaller pendants grouped together, rather than one large single fixture, is another way to build a feature moment, and it changes the scaling math slightly, since now the spacing between fixtures matters as much as the size of any single one. A loose starting point for a small cluster over a dining table or an island is spacing individual pendants somewhere around 250mm to 400mm apart depending on their own diameter, close enough to read as one grouped feature rather than three unrelated lights scattered across the ceiling, but with enough gap that each fixture is still distinct up close.
Layering it with the rest of the ceiling plan
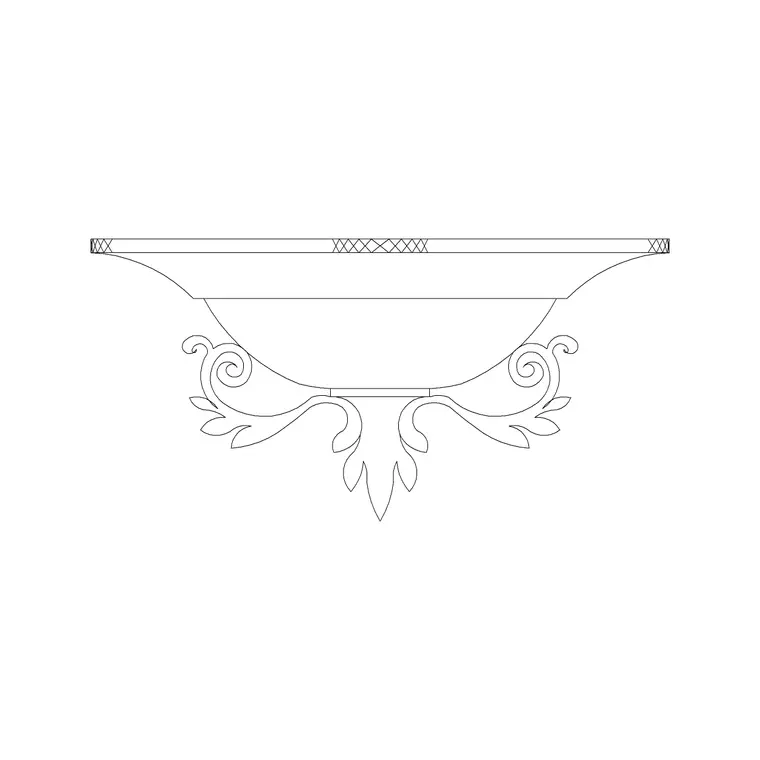
A feature pendant rarely sits alone on a reflected ceiling plan, it usually needs supporting ambient or accent lighting around it, recessed downlights ringing the feature, or wall lamp blocks along the perimeter walls, so the feature fixture reads as the centrepiece of a considered scheme rather than the only light in an otherwise dark room. Draft the RCP with the feature fixture's position locked first, since everything else in the ceiling plan should be laid out relative to it, not the other way around.
A common layout I use on a feature dining ceiling is a ring of small recessed downlights spaced evenly around the feature pendant's position, set on a separate dimmable circuit from the feature itself, so the room can shift between a bright, evenly lit everyday mode and a moodier evening mode where the feature fixture does most of the visual work while the downlights sit low. That kind of layered control is worth noting on the electrical layout early, since retrofitting separate dimmer circuits after a single circuit has already been roughed in is far more disruptive than specifying it correctly from the start.
Elevation is where the client actually sees it
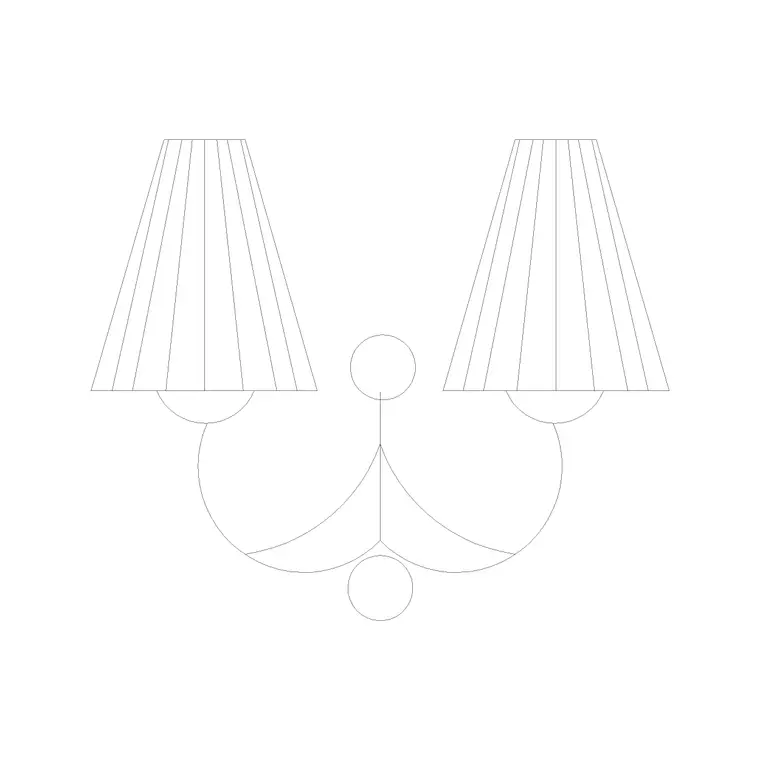
Because these are elevation view blocks, this is exactly the format a client presentation needs, a clean, straight on view showing the fixture's full silhouette and drop against the room's proportions, which reads far more persuasively in a client meeting than a small plan symbol ever could. If you are building a presentation board rather than a working drawing, this is the view worth spending the extra time getting right, correct scale, correct drop, centred against the room's actual geometry rather than a rough placeholder position.
Bringing it in and keeping proportions honest
Download as DWG, insert with INSERT to keep it as a clean named block, and resist the temptation to stretch both dimensions of the fixture head to make it bigger, scale it uniformly so the proportions the designer originally drew stay correct, only the drop rod length should be adjusted independently to match your ceiling height. Keep the feature fixture on its own layer, separate from the supporting lighting, so it can be isolated and highlighted in a presentation set.
When restraint is actually the better design move
Not every feature ceiling needs the biggest, boldest fixture available, and one thing I have learned working on enough of these is that a single, well scaled pendant against a genuinely clean, uncluttered ceiling plane can read as more considered and more expensive looking than an oversized statement piece competing with a busy ceiling full of other elements, cove lighting, exposed beams, multiple recessed fixtures. If the brief is going for a calm, high end feel rather than a dramatic one, sometimes the right call is a mid sized pendant with generous negative space around it on the RCP rather than the largest fixture the budget allows. That is a design judgement call more than a drafting one, but it changes how you scale and lay out the block, so it is worth having the conversation with the designer or client before defaulting to bigger is better on every feature ceiling layout that crosses your desk.
Further reading
Questions
Frequently asked
Should a feature ceiling pendant be larger than a standard chandelier?+
Often yes, a statement fixture in a genuine feature ceiling moment usually needs more scale than people default to in order to actually read as a focal point from across the room.
Do I need supporting lighting around a feature pendant?+
Almost always. A single feature fixture with no ambient or accent lighting around it tends to leave the rest of the room dark, so layer in recessed or wall lighting to support it.
Can I stretch the fixture head to make it bigger without distorting it?+
Scale it uniformly rather than stretching one axis, keep the drop rod as the only piece you adjust independently so the fixture head proportions stay as originally drawn.
Free downloads from this article
Free CAD block library
Download the blocks from this article — free, no signup