Blocks for a way-finding signage walkthrough before installation
Running a pre-install signage walkthrough against the wayfinding plan, checking every sign location before a fabricator locks the order.
Sumana KumarUpdated 30 June 20266 min read
This walkthrough happens after design, before anything gets bolted to a wall
There's a specific gap in most signage projects between the wayfinding plan being approved and the fabricator actually mounting signs on site, and that gap is exactly where a walkthrough drawing earns its keep, walking the physical space with the approved plan in hand and confirming every marked location still makes sense once you're standing in the actual corridor rather than looking at it on screen. I've caught more than one sign location that looked perfectly logical on plan but turned out to be hidden behind a structural column or a door swing once someone actually stood in the space, and catching that before fabrication is a lot cheaper than catching it after.
I try to do this walkthrough at more than one time of day if the schedule allows it, since a sign location that's clearly visible under daytime lighting can read very differently at dusk or under the building's actual installed lighting, and a wayfinding plan that only accounts for daytime visibility is only half verified.
I also bring the original wayfinding concept alongside the working plan on this walkthrough, not to second guess the design, but because it's a useful gut check, standing in the actual space and asking whether the wayfinding story the concept promised still holds up once you're following it as a real visitor would, since a plan can be technically correct on every individual sign location while the overall sequence still feels disjointed in a way that's much easier to sense standing in the corridor than reading off a printed sheet.
Re-walking every arrow on the plan against the built space
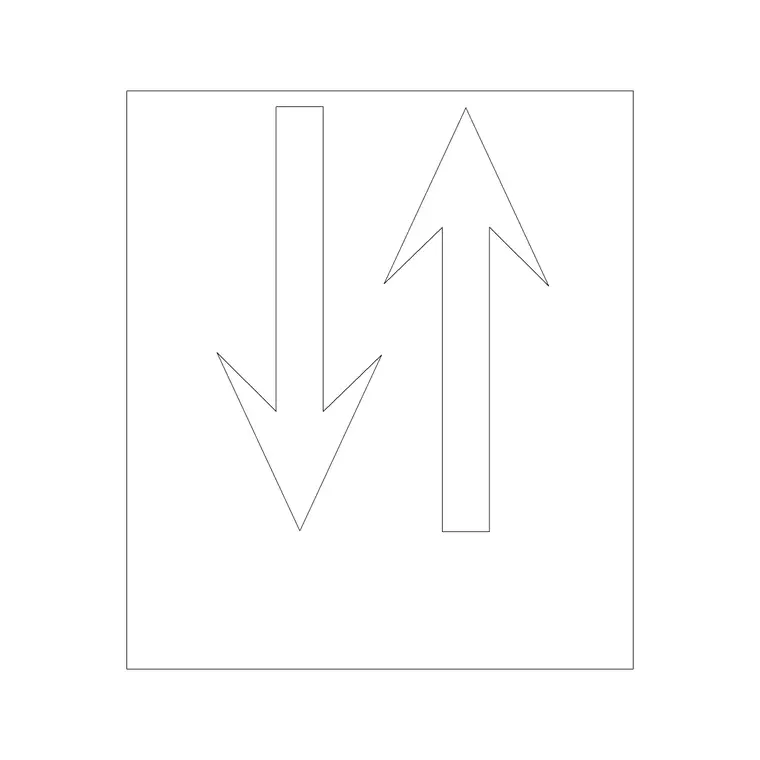
Bring the arrow blocks from the original wayfinding plan and re-check each one physically, does the direction still make sense given how the space actually got built, did a late design change move a doorway or reroute a corridor in a way the signage plan never got updated to reflect. This happens more than people expect on real projects, a corridor gets slightly reconfigured during construction and the wayfinding plan, drawn months earlier, quietly falls out of sync with the built reality it's supposed to guide people through.
It also helps to walk the route as a genuinely unfamiliar visitor would, resisting the temptation to navigate from memory of the design intent, because as the person who drew the plan you already know where you're going, which makes it surprisingly easy to miss a junction that would actually confuse someone seeing the space for the first time.
Take dated photos at each confirmed sign location during the walkthrough, matched against the plan's tag numbers, since this becomes a useful reference not just for the fabricator but for anyone verifying the installed signage later against what was actually agreed on site, closing the loop between the walkthrough and the final installed result.
Sightline obstructions deserve a specific check during this pass too, since a sign location that was genuinely clear when the wayfinding plan was drawn against an empty shell can end up partially blocked by something added much later in the process, a planter, a piece of art, a temporary reception desk that became permanent, and none of that shows up on the original architectural drawing the plan was based on. Walk each sign location while consciously checking what's actually in the sightline right now, not what the base plan says should be there, since the gap between those two is exactly what this walkthrough exists to catch.
Confirming accessible signage locations on site
Accessible and tactile signage locations, marked with a wheelchair accessible symbol on the original plan, need particular attention during this walkthrough because mounting height and approach clearance requirements are often tighter and more specifically regulated than general directional signage, so physically stand at the proposed mounting location and confirm there's genuinely clear, unobstructed approach space, not just clear space on the drawing where a since added piece of furniture or equipment might now be sitting.
Bring a simple tape measure on the walkthrough rather than relying on the plan's dimensions alone, since the whole point of doing this in person is catching where the built space doesn't quite match the drawing, and a rough field measurement taken on the spot is often enough to flag a mounting location that's a few centimetres tighter than the plan assumed, well before that becomes a fabrication problem.
Door swing interference is worth a specific check at any accessible sign mounted near an opening, since a sign positioned correctly relative to the wall can still end up in conflict with a door's swing arc or its held open position, creating an obstruction right at the exact point someone using the tactile signage would be reaching for it, and this is a conflict that's genuinely easy to miss on a plan drawn before final door hardware and closers were selected.
Entry and gate signage, first impressions before the building
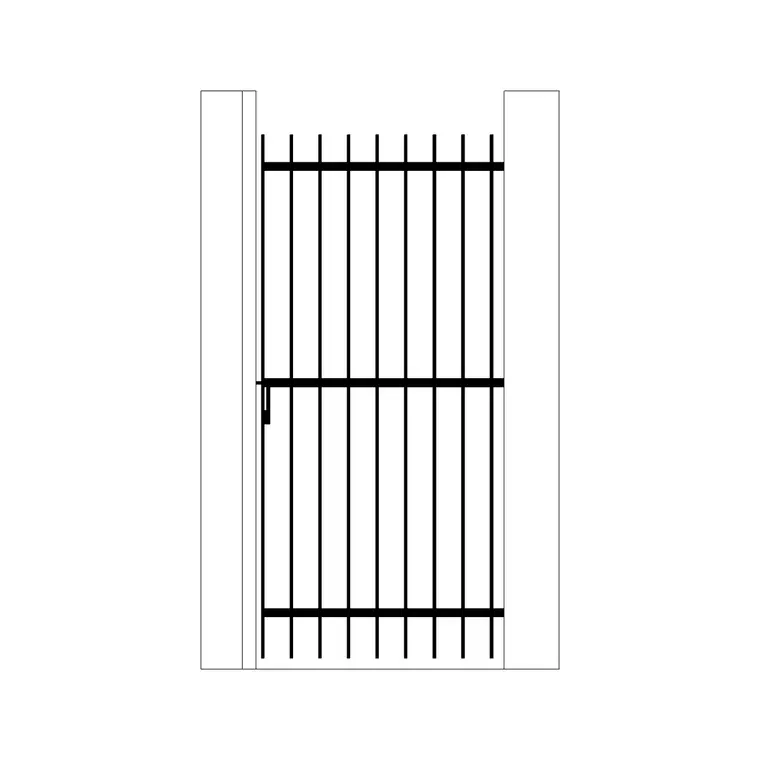
Walk the site entry sequence too, not just the interior, confirming that any sign marked near a gate, an iron gate at a vehicle or pedestrian entrance for instance, is still positioned where an approaching visitor will actually see it before making a wrong turn, since landscaping, fencing, or grading changes made after the original wayfinding plan was drawn can quietly block a sign's visibility without anyone intending it to happen.
If any sign along the route is meant to be illuminated, confirm the fixture location too, a wall lamp style block noted next to the sign marker on the original plan, and check during the walkthrough that power actually gets run to that exact spot rather than somewhere nearby that seemed close enough during rough in.
Documenting what changes before the order locks
Every location that needs to shift from the original plan should get marked up clearly on a working copy of the plan, new position noted, reason for the change briefly documented, because a fabrication order is expensive to revise once it's placed, and the whole point of doing this walkthrough before installation rather than after is catching these shifts while a plan revision is still cheap. Per general Technical drawing practice, keeping a clear revision trail on the marked up sheet also protects everyone if a question comes up later about why a sign ended up somewhere different from the original approved plan.
Photograph the reason for each change alongside the marked up location, not just the new position, since a photo showing exactly why a sign had to move, the column it would have hit, the furniture now sitting where it was meant to go, gives whoever approves the revision enough context to sign off quickly without needing to visit the site themselves to understand what prompted the change.
Signing off before the fabricator proceeds
Once the walkthrough is done and any location changes are marked, get a formal sign off on the revised plan before the fabricator locks the order, a simple dated confirmation is enough, because the entire value of doing a pre-install walkthrough evaporates if the fabricator's order is placed against the old plan while the walkthrough's corrections sit unactioned in someone's notes.
Further reading
Questions
Frequently asked
Why walk a wayfinding plan on site before installation if it's already approved?+
Approved plans are often drawn before construction finishes, and small changes on site, a relocated door, added furniture, adjusted grading near an entrance, can leave a sign location blocked or pointing the wrong way by the time installation is due.
What should get extra attention during a pre-install signage walkthrough?+
Accessible and tactile signage locations especially, since their mounting height and approach clearance requirements are stricter, plus any exterior entry or gate signage where landscaping or grading changes since the original plan could block visibility.
What happens if a sign location needs to change during the walkthrough?+
Mark the new position clearly on a working copy of the plan with a brief note on why, then get that revised plan formally signed off before the fabricator locks the fabrication order, so the order matches reality rather than the outdated original plan.
Free downloads from this article


Free CAD block library
Download the blocks from this article — free, no signup


