Blocks for a snagging or punch-list drawing
How to set up a snagging or punch-list drawing with real CAD blocks so defects reference actual elements instead of vague location descriptions.
Saumyajit MaityUpdated 24 April 20266 min read

A snag list is only as useful as its location references
Anyone who's tried to chase a contractor back to site with a snag list written as 'door sticking, near the kitchen' knows exactly how much time gets wasted on vague locations, and a snagging drawing exists precisely to remove that ambiguity by pinning each defect to a numbered marker sitting on top of an accurate, near completion plan. The plan doesn't need to be elaborate, but it does need the real elements shown, real doors, real gates, real stairs, not the generic placeholders that were fine at design stage but don't reflect what's actually installed.
I've found that swapping in the actual installed blocks, even roughly, before starting a snag walk saves enormous time later, because a marker that says 'defect 14, handrail loose' means nothing without a stair drawn accurately enough to show which flight and which section of run that actually is.
Setting the base plan up before the walk
Before you start a snagging inspection, update your base plan to reflect what was actually built rather than what was originally designed, since by practical completion there have usually been a handful of on site changes that never made it back to the drawing. If the staircase installed is a circular configuration rather than the straight flight shown on the original design set, swap the block before you start numbering defects against it, otherwise your location references won't make sense to anyone reading the list later, including the contractor trying to locate and fix each item.
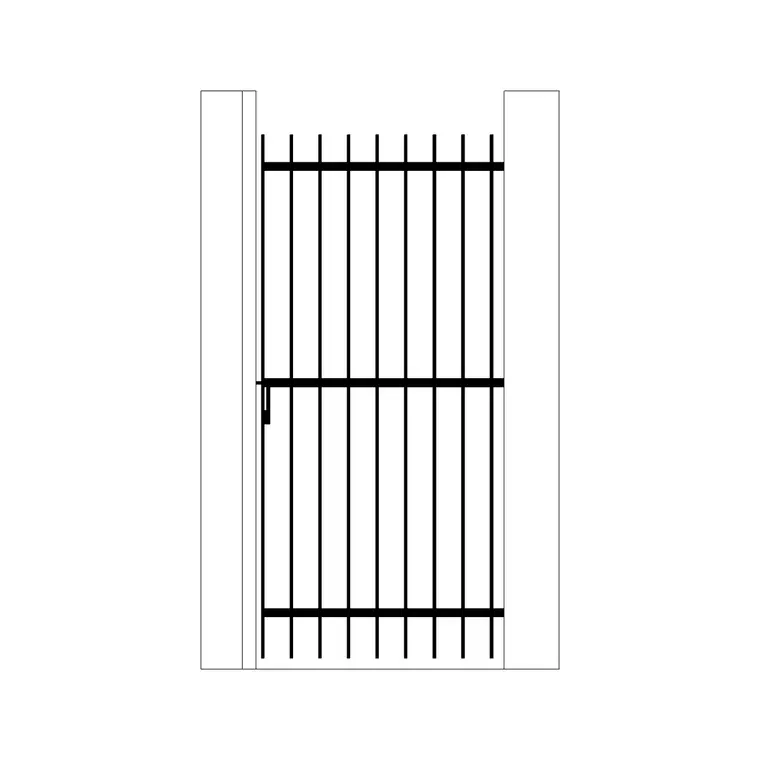
Same goes for gates and external ironmongery, if the installed gate differs from spec in hinge position or swing direction, get the block corrected first so a defect like 'gate binding on the latch side' can actually be located against the drawing rather than requiring someone to remember which way it was supposed to open.
It's worth budgeting a genuine half day for this base plan update on anything beyond a small residential job, rather than trying to do it the morning of the snag walk itself, since rushing this step is exactly how a marker ends up referencing a block that still doesn't match what's actually installed, undermining the accuracy of the entire exercise before it even starts.
Numbering and the defect schedule
Each defect gets a numbered marker on the plan, cross referenced to a schedule listing location, description, trade responsible and target closure date. Group markers logically, room by room or by trade, and keep the marker style consistent throughout, a simple numbered circle or flag block placed at the actual defect location rather than a vague pointer toward a general area of the room.
For accessibility related snags specifically, threshold height discrepancies, door clear widths falling short, an accessible parking bay not meeting its dimension, use the wheel chair accessible symbol on the marker itself so anyone scanning the schedule can immediately spot which items relate to compliance rather than cosmetic finish, since these often need to be closed out before a certifying body will sign off.
I also colour code the marker by trade responsible where the schedule is long enough to benefit from it, joinery defects in one colour, external works in another, since it lets a site manager scan the drawing and immediately see which trade has the most outstanding items without reading every line of the written schedule.
External snags and hardscape
Snagging isn't just internal, external paving, gates, and boundary treatment get inspected too, and defects there, uneven paving joints, a gate that doesn't latch cleanly, hairline cracking on a new driveway surface, need the same accurate location referencing as anything indoors. Use the actual paving block pattern matching what was installed rather than a generic hatch, because a defect note like 'paving unit cracked, third row from the gate' only makes sense if the drawing shows paving units in a real, countable pattern rather than a flat fill.
External defects often carry tighter closure deadlines too if they affect drainage or access, so having them clearly located on the drawing helps a contractor prioritise without a second site visit just to figure out where the problem actually is.
Gates specifically tend to generate a cluster of snags around hardware rather than the gate itself, a latch not engaging cleanly, hinges needing adjustment, a self closer set too aggressively, and marking these against an accurately drawn gate block rather than a generic symbol helps the contractor's hardware specialist go straight to the specific item rather than re-checking the whole gate from scratch.
Formats for the final handover
A snagging drawing usually circulates as a PDF during the walk itself, marked up live on a tablet or printed sheet, but the underlying DWG stays valuable afterward as the record of what was checked and where, especially if a dispute arises later about whether an item was flagged in time. Keep the defect layer separate from the base building layers so it can be toggled off once everything's closed out, leaving a clean as-built style drawing behind rather than one permanently cluttered with resolved defect markers.
Once every item on the schedule is closed, archive the marked up version alongside the clean one, since a completed snag list with dates closed is often exactly what a client or funder wants to see as evidence of practical completion being genuinely achieved.
Common snag list mistakes that slow closeout
A few habits separate a snag list that gets closed out quickly from one that drags for months. The first mistake is batching every item into one generic severity, when in reality a hairline paint chip and a door that won't latch closed are not remotely equivalent in urgency, and a schedule that doesn't distinguish critical, safety related, or access affecting items from purely cosmetic ones means a contractor working through the list in numerical order might fix the trivial stuff first purely because it happened to get logged earlier.
The second is re-walking the whole building for every follow up inspection rather than just the outstanding items, which wastes real time on a large project, so I always keep a live filtered view, digitally or just a highlighted print, showing only what's still open rather than re-reviewing everything closed out already.
And a mistake I've made myself early on, not photographing each defect alongside its marker number, which matters enormously when a dispute comes up later about whether an item was actually present at the walk or whether it appeared afterward during the contractor's own remedial works, since a dated photo cross referenced to the marker settles that question in seconds rather than becoming a memory contest between two site visits.
Why the extra setup time is worth it
For instance, on a project with even thirty or forty snag items, the few minutes spent updating the base plan to real installed blocks before the walk saves hours of confusion later when contractors are trying to locate and close items off a list that doesn't quite match reality. Basically, treat the snagging drawing as a working document that earns its accuracy through the same care as any construction drawing, not an afterthought scribbled together the morning of the inspection. This is one of those habits that pays for itself disproportionately relative to the effort involved, a genuinely small time investment against a return measured in avoided site visits and faster sign off.
Further reading
Questions
Frequently asked
Should a snagging drawing use the original design blocks or the as-installed ones?+
As-installed wherever they differ, since a snag list is only useful if the location references on the drawing match what a contractor will actually find on site during a return visit.
How should defects be marked on a snagging plan?+
A consistent numbered marker at the precise defect location, cross referenced to a schedule with description, trade and closure date, works far better than a general area circle or a written note alone.
Do accessibility defects need special marking on a snag list?+
It's worth flagging them distinctly, since items like door clear widths or accessible parking dimensions often need closing out before a building can be signed off, so making them easy to spot in the schedule speeds up that final certification step.
Free downloads from this article


Free CAD block library
Download the blocks from this article — free, no signup


