Blocks for a landscape planting plan schedule
A practical block checklist for building a planting plan and its accompanying schedule, from canopy trees to the site symbols around them.
Saumyajit MaityUpdated 25 May 20266 min read

A planting plan is really two drawings pretending to be one
Every planting plan I've drafted ends up being two documents in practice, the plan itself showing where each plant goes, and the schedule that lists botanical name, quantity, and spacing for each species tagged on that plan, and the two only stay useful if they match exactly. So before reaching for tree blocks, decide your tagging convention the same way you would on an FF&E schedule, a letter code per species, PE for pine for instance, with a number suffix, because retrofitting tags onto forty planted symbols after the fact is an afternoon you don't want to spend.
Canopy trees and their real footprint
A tree elevation block like a pine elevation earns its place primarily on the elevation or section views of a planting plan rather than the plan view itself, since elevation shows a client or reviewer the actual mature height and canopy shape they're approving, something a plan view circle just can't communicate. Mature canopy spread varies enormously by species and growing conditions, so rather than quote a single number, pull the actual mature spread from the nursery's plant data sheet and use that to set your plan view spacing circle, then keep the elevation block roughly proportional to that same spread for consistency between the two views.
It's worth resisting the urge to use a single tree block repeated at identical scale across an entire site, even when several species share a similar mature size, because a planting plan that reads as visually monotonous tends to undersell the actual planting design to a client or reviewer, and rotating between two or three tree block variants, even simple ones, communicates species variety far better than a uniform grid of identical symbols ever will.
Root spread deserves the same scrutiny as canopy spread, and it's the dimension that gets ignored most often on a planting plan because it's invisible on a finished drawing, a canopy tree planted a metre and a half from a foundation wall or a buried utility line can cause a genuinely expensive problem five or ten years down the line once the root system matures, so I cross check tree placement against any known underground services, drainage runs, water lines, before finalising positions, not just against above ground clearances like a building line or a fence. A quick call to whoever holds the utility drawings for the site is worth the ten minutes it takes, because moving a tree symbol two metres on a plan costs nothing at this stage, and it's a far cheaper fix than a root system lifting a paved path or interfering with a drainage line after the tree's had a decade to establish.
Orientation and scale on a site that isn't square
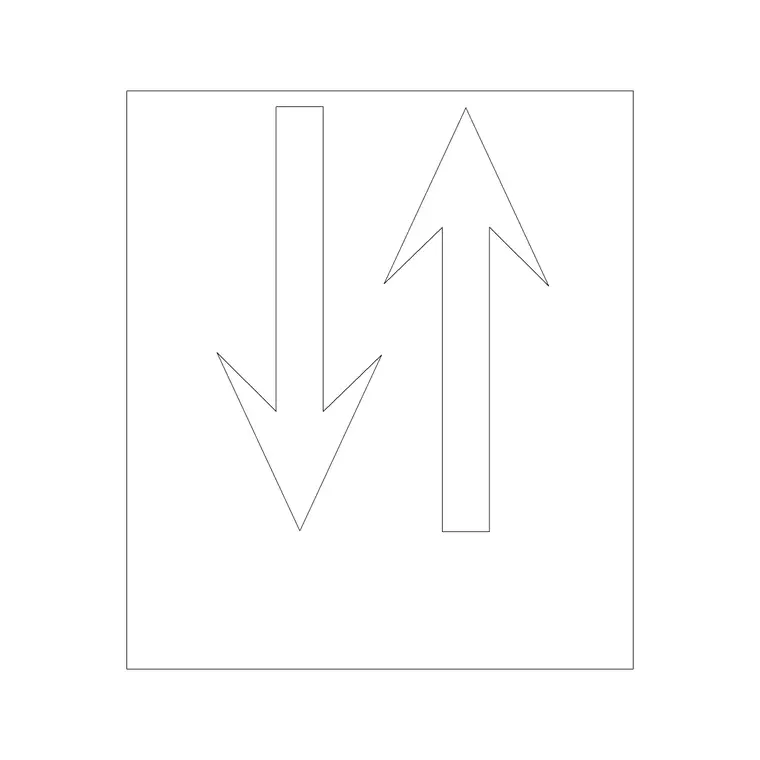
Landscape sites are rarely tidy rectangles, so an arrow block used as a north arrow matters more here than on a lot of interior drawings, because planting decisions, sun loving species on a south face, shade tolerant species tucked under a canopy, only make sense to a reviewer if the orientation is unambiguous on the sheet. Per Scale (ratio) conventions used across landscape architecture, most planting plans run at a looser scale than interior drawings, often 1:100 or 1:200 for a full site, so keep tree and shrub blocks simple enough that they don't turn to mush at that reduction.
On irregular sites I'll also draft a rough sun path overlay alongside the north arrow, nothing elaborate, just enough to confirm that shade tolerant species are actually going where shade falls for most of the day rather than where they happened to look good in the composition, since a planting plan that ignores real sun exposure tends to need a costly replanting a season or two after installation once species that were placed in the wrong light condition start failing.
Boundaries, gates, and hard landscape context
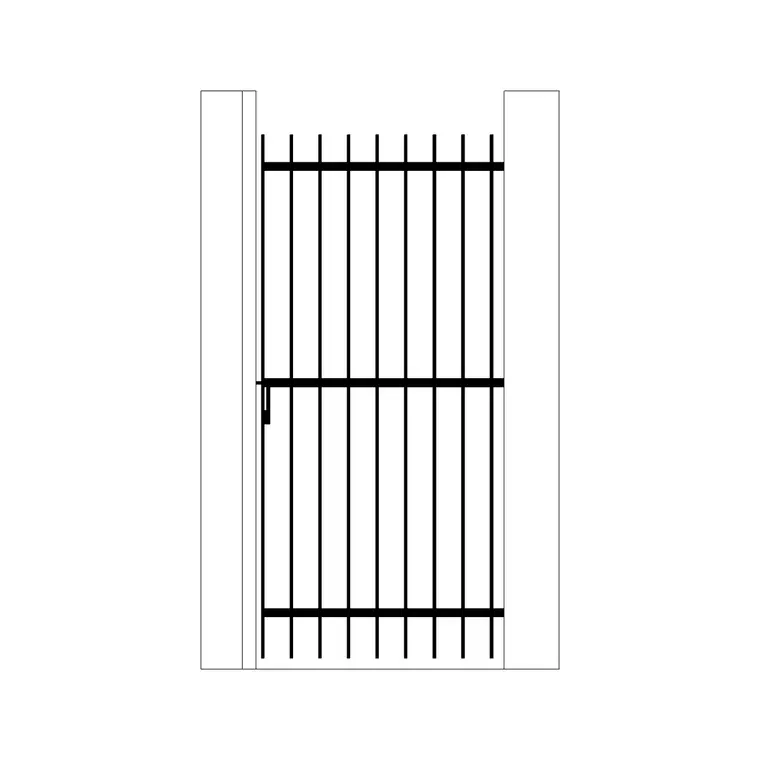
A planting plan rarely exists in isolation from the hardscape around it, so a gate block like an iron gate is worth including wherever the planting meets a site entry or boundary, both because it grounds the plan visually and because planting near a gate often needs its own note about mature height not obstructing sightlines or swing clearance. This is a detail that gets missed surprisingly often, a beautiful screening hedge planted right where it eventually blocks a gate's swing arc.
I'll also note irrigation zoning roughly alongside the planting layout at this stage, even before the irrigation design is finalised, because grouping plants with similar water needs onto shared zones is far easier to get right while the planting plan is still flexible than it is to retrofit once species positions are locked and a separate irrigation consultant is working from a plan that didn't consider zoning at all.
Seasonal planting windows are worth a note on the schedule too, since not every species tolerates being planted at any point in the year, bare root stock in particular usually needs a dormant season window, while container grown stock is more forgiving, and a contractor working from a schedule that doesn't flag this can end up planting bare root material in conditions that put survival rate at real risk before the landscape has even had a chance to establish.
Building the schedule to match the plan
Once every plant symbol on the plan carries a tag, build the schedule as a straightforward table, botanical name, common name, quantity, container size or caliper at planting, and spacing on centre, and cross check the tagged count on the drawing against the schedule quantity the same way you would on any other tagged schedule. Per Landscape architecture as a discipline, the schedule is often the document contractors actually order against on site, so an error here is a costlier mistake than a cosmetic error on the plan itself.
If the site includes a public or accessible garden path, mark that route with a wheelchair accessible symbol at its entry point too, and make sure the planting schedule notes mature spread for anything planted along it, since an overgrown shrub that looked fine at installation can narrow an accessible path down below required width within a couple of growing seasons.
Nursery stock availability shifts more than people expect between the plan being drawn and planting actually happening, so I leave a substitution note column on the schedule itself, an acceptable alternate species with a similar mature size and light requirement, rather than leaving the contractor to guess or call back for a decision when the specified species turns out to be out of stock that season. It's a small addition to the schedule table but it avoids a genuinely common delay, a planting crew standing on site with an order that can't be fulfilled and no documented fallback, waiting days for a design decision that could have been resolved on paper months earlier.
Keeping the file light as planting density grows
Planting plans can accumulate hundreds of individual plant instances fast, so lean on block insertion rather than copied raw geometry for every single shrub or groundcover patch, and purge unused block definitions before the drawing goes out, because a planting plan with genuinely dense understory can bloat fast if every instance is unique geometry instead of one clean, reused block definition.
Further reading
Questions
Frequently asked
Should tree blocks be shown in plan view or elevation on a planting schedule?+
Use both. Plan view with a spacing circle sized to mature canopy spread communicates layout and spacing, while an elevation block like a pine elevation shows the client the actual mature height and form they're approving.
How do I keep a planting plan and its schedule from drifting apart?+
Tag every plant symbol on the plan with a species code before you start counting, then build the schedule quantities directly from a count of each tagged block rather than estimating, so the two documents stay in sync as the design changes.
What scale is typical for a landscape planting plan?+
It varies by site size, but a full site planting plan commonly runs at 1:100 or 1:200, looser than a typical interior plan, so keep plant symbols simple enough to stay legible once printed at that reduced scale.
Free downloads from this article

Free CAD block library
Download the blocks from this article — free, no signup


