How to Build a Door Schedule from CAD Blocks
A practical workflow for turning downloaded door blocks into a construction ready schedule, from tagging the plan to keeping revisions in sync.
Sumana KumarUpdated 8 April 20265 min read
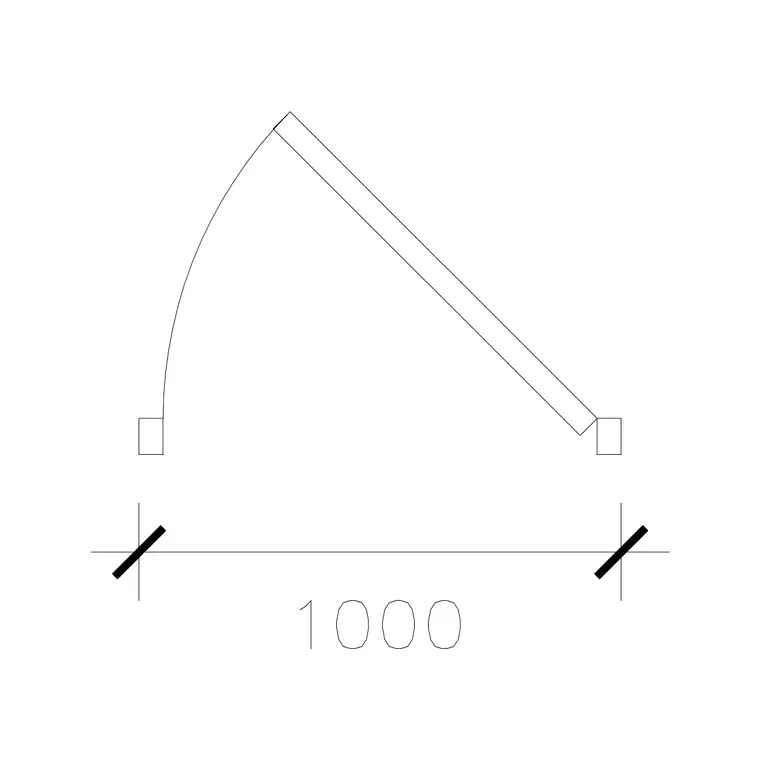
A door schedule is where downloaded blocks earn their keep or get you in trouble
Downloading a door block and dropping it into a plan is the easy half of the job, the door schedule is where all those individual insertions get turned into something a contractor can actually build from, a table listing every door by mark, size, mechanism, material, and hardware note, cross referenced back to the plan by a tag number at each opening. I've seen plenty of plans where the blocks are placed perfectly and the schedule is an afterthought, thrown together at the end from memory rather than pulled directly off what's actually in the drawing, and that's exactly where mismatches creep in, a door swapped on plan during a late revision that never made it back into the schedule row.
What each schedule row actually needs to carry
At minimum a usable door schedule row needs the mark number, width and height, the mechanism, swing, double acting, sliding, pocket, or bifold, the material or construction type, laminated, wood panel, glazed, the swing hand where applicable, left or right, and a fire rating column even if most rows just say none, because a blank cell reads as an oversight during review while an explicit none reads as a checked and confirmed entry.
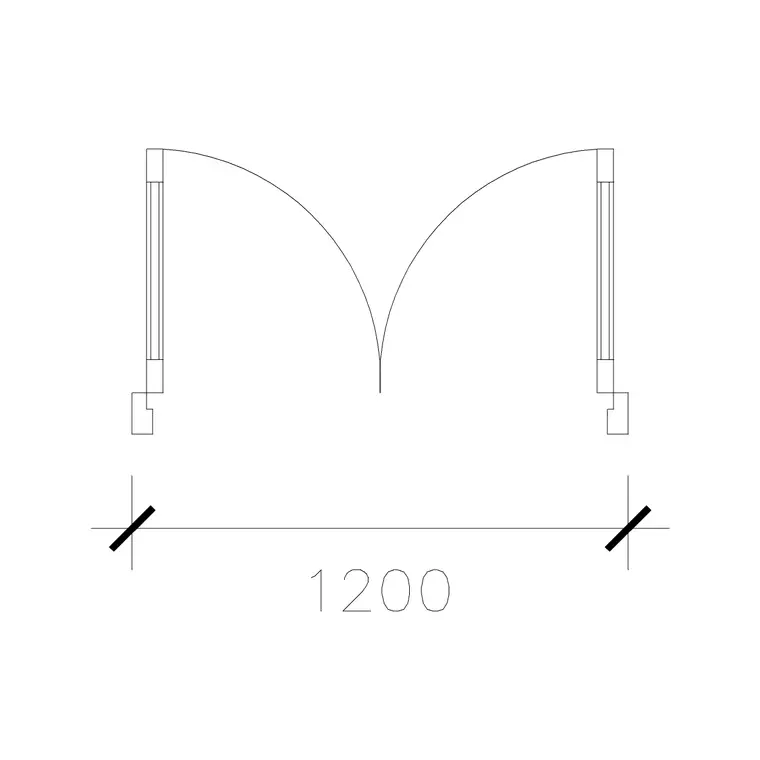
For instance a row built off the 1000 mm laminated door block on this site would read something like D101, 1000 x 2100, single acting swing, laminated flush, left hand, none, and a row off the double acting door block would swap the mechanism and hardware columns to double acting, spring hinge, not applicable for swing hand since it opens both ways.
A remarks or notes column is worth adding too, even if most rows leave it blank, since it's the natural home for anything that doesn't fit cleanly into the standard columns, a note that a specific door needs to be rated for sound transmission, or that a particular opening requires an automatic operator, or that a supplier substitution was approved for one specific unit. Trying to cram that kind of detail into the material or hardware column instead just makes those columns inconsistent across the sheet.
Keeping the schedule and the plan honest with each other
The failure mode to actually guard against is drift, the plan gets revised, a door gets resized or its mechanism changes from swing to pocket, and the schedule row doesn't get updated to match, so at the end of every revision pass I do a straight count check, count the door tags on the plan, count the rows in the schedule, and if those two numbers don't match something's been added or removed on one side without the other. It's a blunt check but it catches the most common error fast, and it takes a couple of minutes on even a large residential plan.
Beyond the count check, it's worth spot checking a handful of rows against the plan directly at the end of every issue, picking maybe five doors at random and tracing them from tag to schedule row to actual block geometry, confirming the mechanism noted in the schedule actually matches the arcs drawn at that opening. A pure count match tells you nothing got added or removed, but it won't catch a door that was resized on plan without the schedule row being updated to match, which is exactly the kind of drift a spot check does catch.
Grouping blocks by type speeds up the whole process
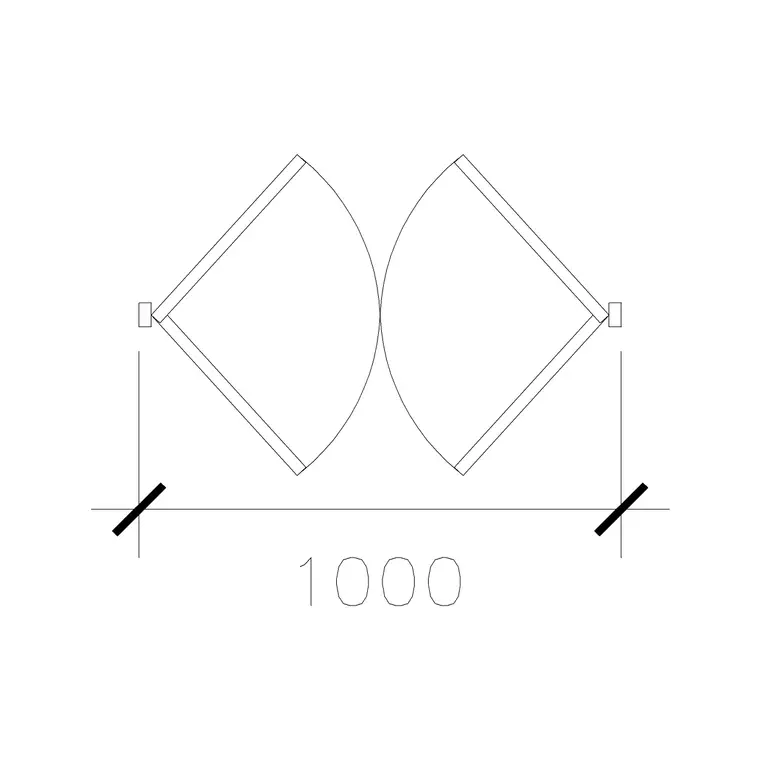
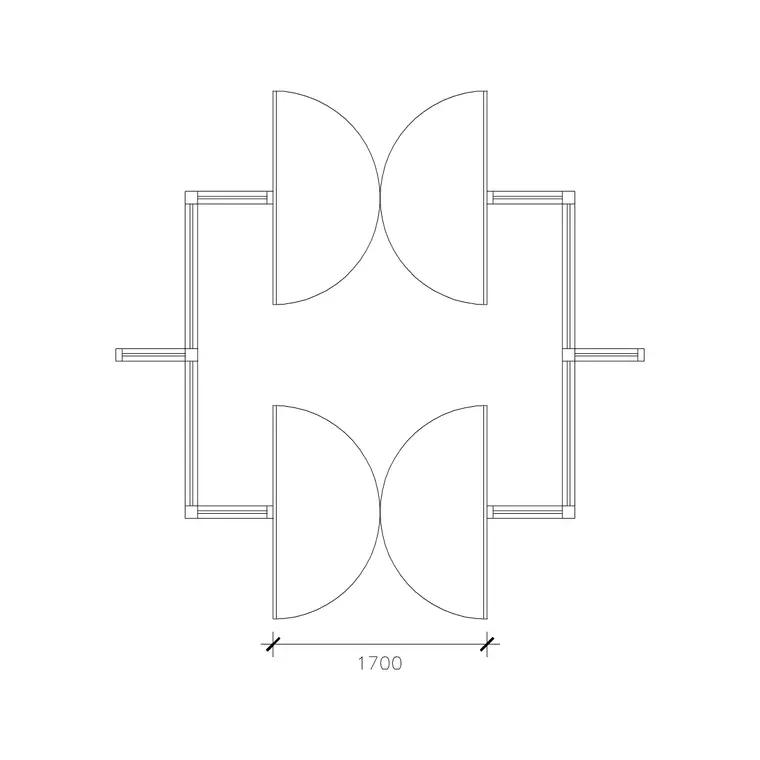
One workflow habit that saves real time, group your downloaded blocks by mechanism and material before you start placing them rather than searching fresh each time you need one, so your project's block palette might hold the 1000 mm laminated door and 1200 mm dd laminated door for standard interior swings, the double acting door and 1000 mm wide dd double acting for pass through conditions, and the double panle bs swing vestibule door or french double door for entrance and feature openings, all pre staged and ready to drop in. When the schedule's built at the end, you are working from a small known set of block types rather than reverse engineering what each individual insertion actually is, which is a surprisingly common problem on plans that have been through several drafters.
Handling revisions and hardware groups without losing track
On a project that goes through several revision cycles, and most do, it helps to add one more column to the schedule that a lot of drafters skip, a hardware group or set number rather than spelling out every hinge and lockset detail on every single row. Group doors that share identical hardware, same hinge type, same lockset, same closer if applicable, under a single hardware set reference, HG1, HG2 and so on, defined once in a legend at the bottom of the schedule sheet. That single change makes late revisions dramatically less error prone, because if a hardware spec changes partway through a project, you are editing one legend entry instead of hunting through forty individual rows trying to remember which doors shared that same hardware.
I also keep a simple revision column on the schedule itself, a small triangle or a rev number next to any row that changed since the last issue, which mirrors the standard revision cloud convention used on the plan sheets and gives a reviewer a fast way to see exactly what changed in the door schedule without having to compare every row from scratch.
Further reading
Questions
Frequently asked
Do downloaded free CAD blocks usually include attribute data for schedules?+
Not usually, most free libraries, including the blocks here, are geometry focused rather than attribute tagged, so building the schedule as a manually maintained table cross referenced to plan tags is the standard and reliable workflow rather than relying on automatic block attribute extraction.
What's the minimum information a door schedule needs to be useful on site?+
Mark number, width and height, mechanism, swing hand where applicable, material or construction type, and fire rating status. Anything less and a contractor or supplier will end up calling to confirm details that should have been on the sheet.
Should the door schedule be a separate sheet or on the plan sheet itself?+
For anything beyond a handful of doors, a separate schedule sheet is standard, since it keeps the plan sheet from getting crowded with a large table and makes it easier for a reviewer to scan every door at once rather than hunting across a floor plan.
Free downloads from this article


Free CAD block library
Download the blocks from this article — free, no signup

