Bench and Free-Weight Area CAD Blocks for a Strength Zone
Bench types, weight blocks, and rack placeholders for a strength zone, with real spacing for spotters and loading room around every bench.
Saumyajit MaityUpdated 26 May 202611 min read
The Strength Corner Is Its Own Small Design Problem
A strength zone, whether it is one corner of a garage or a dedicated room in a commercial facility, revolves around just a few real decisions, which bench, how many weight blocks, and how much clear floor sits around them, and getting those three things right matters more than the size of the room itself, because a huge room with a badly placed bench is just as frustrating to use as a tiny one, and a small room with a bench, weight blocks, and clearance planned properly can work better than a much bigger space that never had its layout thought through.
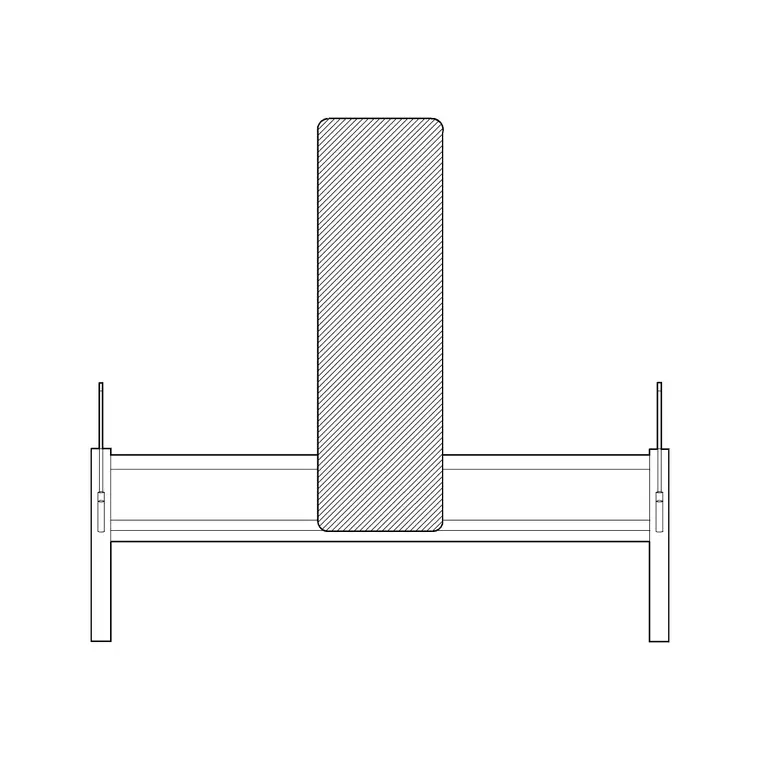
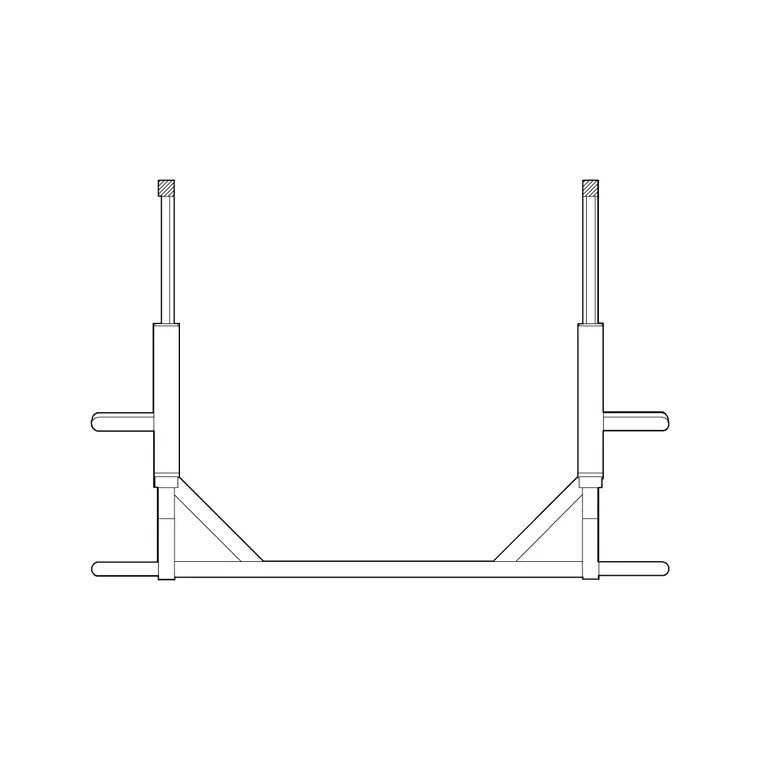
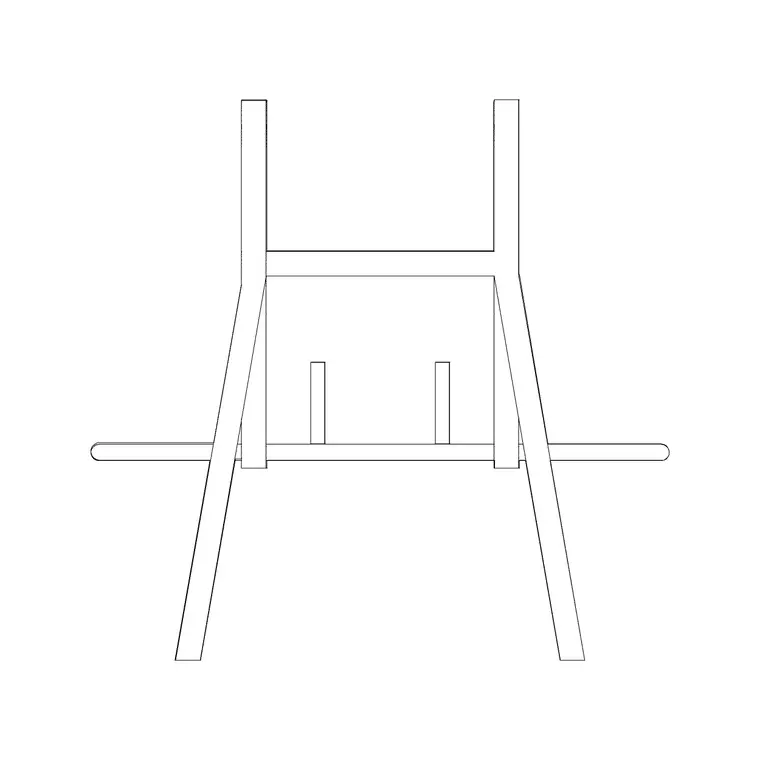
On cadblockdwg.com the fitness-and-sports category carries four dedicated bench blocks, adjustable-bench, bench, bench-with-wieghts, and homan-gym-bench, plus two weight blocks, weight and weight-1, and these six blocks alone are enough to draw almost any strength corner accurately, before you even reach for one of the 27 generic gym-equip blocks to represent a rack or a machine sitting nearby.
This same six-block combination is worth treating as a reusable module rather than a one-off drawing exercise, because the exact same logic that works for a single garage corner scales up cleanly into a repeated strength row inside a bigger commercial floor, just copied and arrayed the same way a cardio row gets arrayed down a wall, which means the time spent getting one strength corner right the first time pays off again every time the same module gets reused elsewhere.
Four Bench Blocks, Four Different Footprints
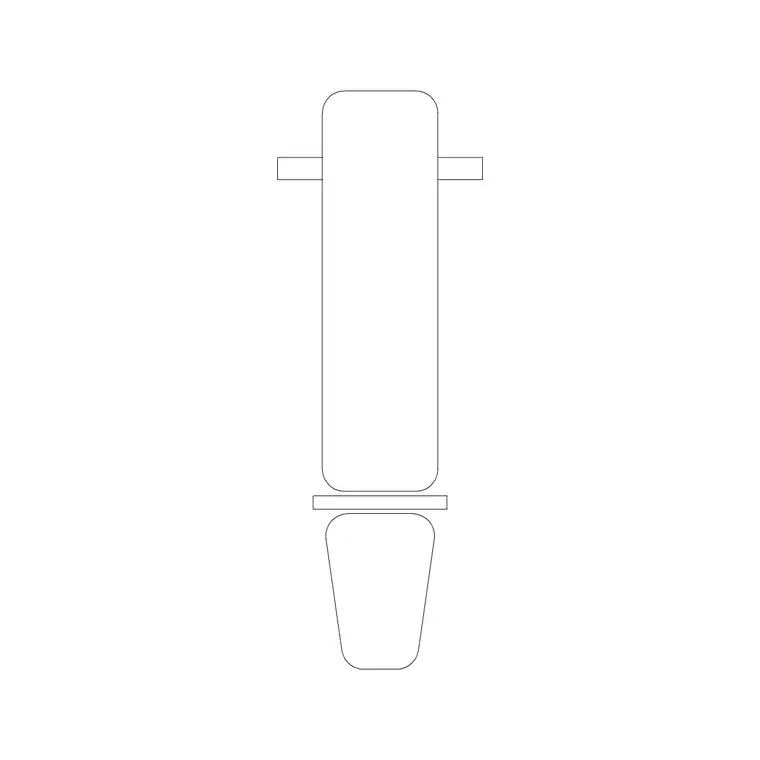
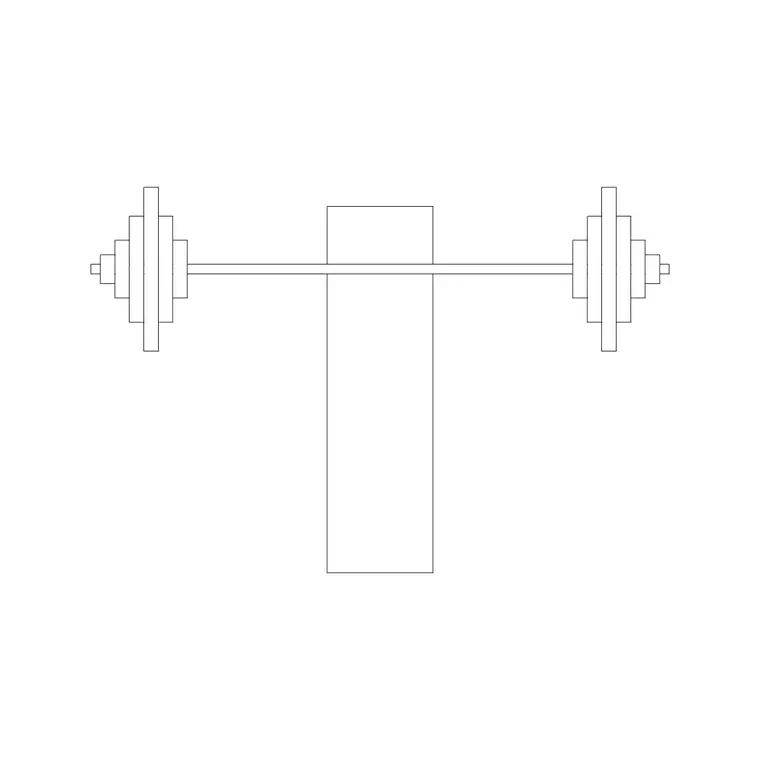
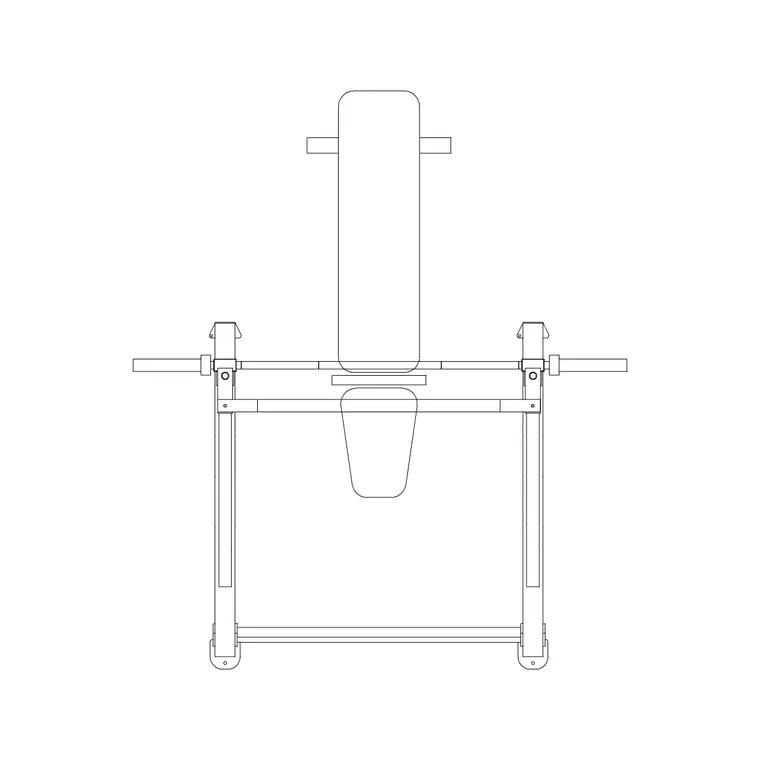
The four bench options in the catalog are not interchangeable in a drawing even though they all represent the same basic piece of equipment, because adjustable-bench is drawn to reflect a bench that changes footprint depending on incline setting and folds to a shorter profile when stored upright, bench represents a simple flat bench with a fixed footprint that does not change, bench-with-wieghts shows a bench with plates already resting on it, which reads better in a presentation drawing meant to look like a finished space rather than an empty shell, and homan-gym-bench gives you a distinct model shape worth testing against the other three if you already know which actual bench you are buying and want the closest match.
Pulling all four into the same drawing at the same scale, side by side, before picking one, takes a couple of minutes and tells you more about which bench actually suits the space than reading a product listing's dimensions ever will, because you get to see the bench sitting next to the rest of the room instead of imagining it in isolation.
None of this requires guessing at exact published dimensions for every model on the market, since the point of the comparison is relative, not absolute, you are checking how one bench's block sits against the room's walls and the neighboring weight block compared to another, not trying to match a manufacturer's spec sheet to the millimeter, and that relative comparison is honestly all a floor plan at this stage needs to be useful.
Where the Weight Blocks Actually Go
The weight and weight-1 blocks do double duty in most strength zone drawings, either standing in for a vertical plate rack or plate tree positioned near the bench, or scattered loosely across open floor to represent free weights, dumbbells or loose plates, that members or a household actually use without racking every time.
The detail worth getting right here is that a plate rack's own footprint is almost never the real space requirement, since someone loading a barbell needs room to slide plates on from the end, and someone using loose dumbbells needs a spot to set a pair down mid-set without it becoming a trip hazard for the next person walking past, so the weight block on the drawing should carry a small buffer of genuinely open floor around it, not just butt up against the bench block with no gap at all. Skip that buffer in the drawing and the strength corner looks efficient on screen and then turns into the one spot in the room where people bump into each other or step over a stray plate every single session.
Using both weight and weight-1 together in the same drawing, rather than picking just one, is a small trick worth doing anyway, since it lets the same strength zone represent a rack of plates in one spot and a scattering of dumbbells in another, which is closer to how most real strength corners actually get used day to day, mixing barbell work and dumbbell work in the same footprint rather than committing the whole zone to one type of free weight exclusively.
Spotter Space: The Clearance Nobody Draws by Default
A bench, on its own, looks like a small and simple block to place in a drawing, but the real footprint of a bench in actual use extends well past the frame in three directions that are easy to forget when you are just dragging a block into position. Behind the head of the bench there needs to be standing room for a spotter, someone who can grab a bar quickly if a lift goes wrong, and that space has to exist even on days nobody is spotting, because the layout should work for the worst case, not just the convenient one.
On both ends of the bench, wherever a barbell extends past the bench itself, there needs to be enough room for someone to walk in from either side and slide a plate onto the bar without reaching over another piece of equipment or squeezing past a wall. None of this shows up automatically just because the bench block is sitting correctly in the drawing, it has to be drawn in deliberately as its own clearance zone around the block, the same way you would draw a door's swing arc around a door block instead of assuming the doorway opening alone tells the whole story.
Overhead clearance deserves the same attention in a garage build specifically, since a garage door track, a low beam, or a light fixture sitting exactly where a spotter needs to stand is the kind of conflict a plan view alone will not catch, so it is worth marking ceiling obstructions on the same drawing, even as a simple note or a dashed outline, rather than assuming a floor plan that looks clear from above is automatically clear all the way up.
Racks Without a Dedicated Block: Using gym-equip as a Stand-In
One honest gap worth naming is that the catalog does not carry a block specifically labeled as a squat rack or a power rack, so the practical move, and the one that actually works in a real drawing, is picking one of the 27 generic gym-equip blocks, gym-equip through gym-equip-26, and resizing it to match the footprint of the actual rack you are buying or already own, labeling it clearly in the drawing as a placeholder rather than pretending it is a literal rack illustration.
This is not a workaround to be embarrassed about, it is exactly how CAD block libraries get used in the real world, since no free or paid library covers every specific equipment model on the market, and a correctly sized generic block does the actual job a floor plan needs to do, which is reserving the right amount of floor space and showing the rack's relationship to the bench and the walking lane around it, even before the exact rack model is finalized or delivered.
This same placeholder approach applies to any other named equipment you plan around the strength zone that the catalog does not carry a dedicated block for, a cable machine, a specific multi-station tower, a chin-up station, the principle stays identical throughout: size a generic block to the real footprint, label it honestly, and let the drawing do its actual job of reserving space rather than pretending to be a product catalog.
Fitting the Strength Zone Into a Bigger Room
Whether this strength corner sits inside a home garage, a spare room, or one section of a larger commercial floor, it works best when it gets treated as its own bounded zone in the drawing rather than blending into whatever open space happens to surround it, because a bench, a couple of weight blocks, and a rack stand-in that drift loosely into the walking aisle of a bigger room create exactly the kind of ambiguous space where nobody is sure if they are walking through a strength zone or just crossing an open floor.
Draw a light boundary line, even an informal one, around the bench, the weight blocks, and the rack placeholder, matching whatever clearance you worked out for spotter space and loading room, and the strength zone reads clearly as its own area on the plan, which also makes it much easier to judge later whether a second bench or an additional rack could actually fit inside that same boundary without redoing the whole layout from scratch.
This boundary also helps when the strength zone shares a wall with a cardio row or a recreation corner, since the drawing needs to make clear where one zone's clearance ends and the next one's begins, rather than leaving a stretch of floor that could technically belong to either, which in practice tends to become dead space that nobody plans equipment into and nobody quite knows what to do with either.
The boundary line around the strength zone also earns its keep at the doorway, whether that door is a bedroom door, a garage service door, or an entrance from a commercial gym's main floor, because a bench or a rack placeholder positioned too close to where a door swings in creates the exact kind of daily annoyance that a five-minute check in the drawing would have caught before anything got bolted down or delivered.
When the Zone Has Room for a Second Bench
Some strength corners, especially in a commercial gym or a well-sized home setup, have room for more than one bench, and this is where the four bench block options actually get useful in combination rather than just as alternatives to each other, since a corner with two benches often works better mixing types, for instance placing bench-with-wieghts and adjustable-bench near each other so the drawing itself signals that one station is for standard flat work and the other for incline or decline variations, rather than two identical bench blocks that give no visual cue about how the space is actually meant to be used.
The spacing between two benches needs to account for both benches' individual spotter space and loading clearance simultaneously, not just the walking aisle between them, because two people loading bars on neighboring benches at the same time is a completely normal scenario in a shared strength zone and the drawing should hold up under exactly that condition, not just the quieter case of one bench in use and the other empty.
Weight blocks multiply along with the benches in this scenario too, since two active bench stations usually mean two separate small clusters of weight and weight-1 rather than one shared pile between them, and drawing them that way, one cluster per bench, keeps the zone readable and keeps each station's loading buffer distinct instead of merging into one ambiguous stretch of floor that neither lifter can fully claim.
Getting the Proportions Right Before You Trust the Drawing
A bench block, like any piece of equipment in a technical drawing, only tells you the truth about your room if it is scaled correctly against the real dimensions of the bench you are buying, which sounds obvious and still gets skipped constantly, especially when a block gets pulled into a drawing quickly and resized by eye to "look about right" against the walls instead of being checked against an actual tape measure once. The broader convention behind furniture and equipment design treats an object's real proportions as the whole basis for how it gets represented and used in a space, and a bench block deserves that same level of respect in your file, not because it is complicated, but because the entire strength zone layout, spotter space, loading room, rack clearance, is built relative to that one block's dimensions being correct, following the same to-scale principle.
Every block covered here, the four benches, the two weight blocks, and whichever gym-equip block you press into service as a rack, downloads free from cadblockdwg.com in DWG format, with the underlying geometry compatible with DXF file format workflows too for software that prefers that format, and opens without an account or a subscription standing between you and the file. For a strength zone specifically, a corner of the build most people actually use every single day once it exists, that is exactly the kind of drawing worth getting right the first time rather than fixing after the rack shows up and does not quite fit.
Further reading
Questions
Frequently asked
How many bench and weight blocks does the catalog have?+
There are four dedicated bench blocks, adjustable-bench, bench, bench-with-wieghts, and homan-gym-bench, plus two weight blocks, weight and weight-1, all inside the 46-block fitness-and-sports category on cadblockdwg.com.
Why does a bench need more clearance than its own footprint?+
Because real use of a bench extends past the frame in three directions, behind the head for a spotter, and out both ends for loading plates onto a barbell. A drawing that only shows the bench's physical outline without that buffer will look fine on screen and feel cramped in the actual room.
Is there a dedicated squat rack or power rack block?+
No. The workaround most people use is resizing one of the 27 generic gym-equip blocks to match a rack's real footprint and labeling it clearly as a placeholder, which still does the job of reserving accurate floor space.
Can I use these blocks for a commercial strength zone, not just a home setup?+
Yes. The same bench and weight block combination scales up cleanly into a repeated row inside a larger commercial floor, the module just gets copied and arrayed the same way a cardio row would be.
Free downloads from this article

Free CAD block library
Download the blocks from this article — free, no signup


