Basketball Hoop CAD Blocks for a Driveway or Backyard Court
Real rim height, driveway clearance and site-plan logic for placing basketball-hoop blocks on a residential driveway or backyard.
Sumana KumarUpdated 11 June 202611 min read
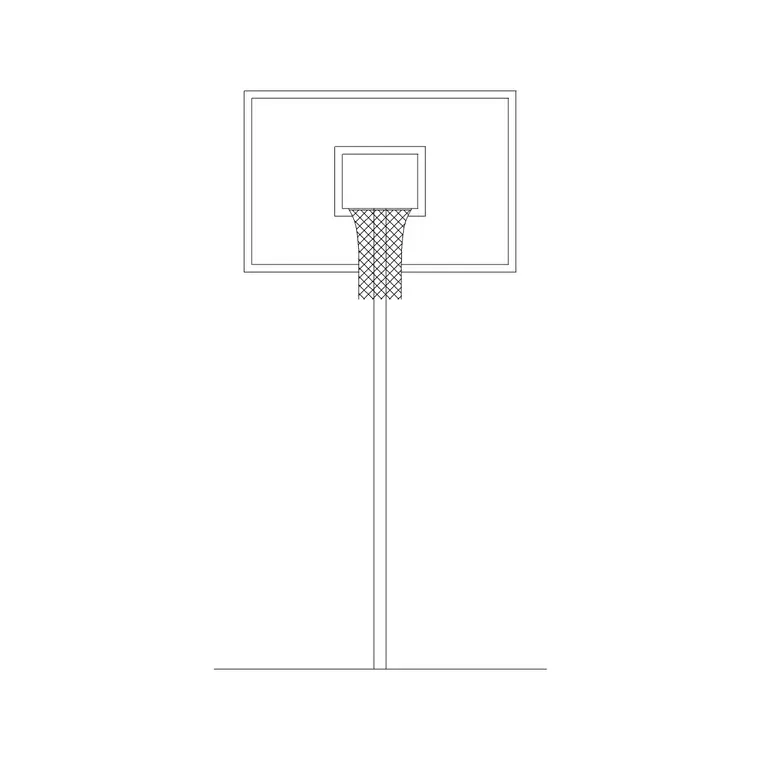
A basketball hoop is a site-plan problem, not a floor-plan one
A basketball hoop is one of the few CAD blocks that gets used on a site plan rather than a floor plan, and that changes the whole logic of how you place it, because you're no longer working inside four walls with fixed dimensions, you're working against a driveway slab, a fence line, an overhead power line maybe, and however much flat concrete or lawn the property actually has to offer. I end up drawing these placements more for driveway hoop setups than full backyard courts, simply because most residential lots don't have the room for a full court, but the placement logic holds regardless of scale, and it's worth walking through properly rather than just dropping a block in the middle of whatever open space happens to be left over on the plan.
What the basketball-hoop blocks actually represent
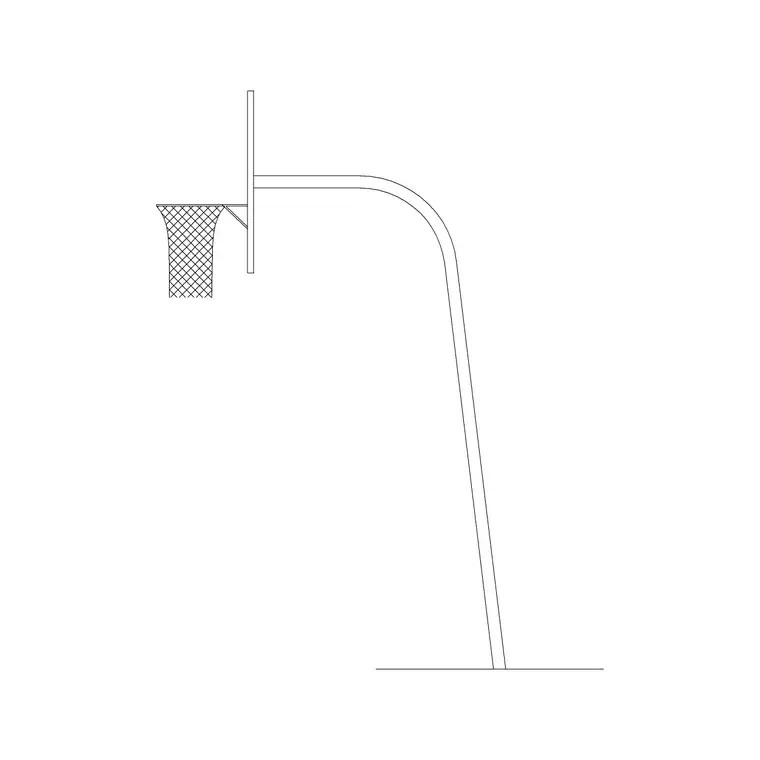
Our library carries two basketball-hoop blocks (basketball-hoop-1, basketball-hoop-2), plan-view outlines in the fitness-and-sports category representing the kind of portable or in-ground hoop system most residential setups actually use, rather than a fixed arena backboard. Regulation rim height in organised play is set at 10 feet, or 3.05 metres, measured from the court surface to the top of the rim, and that figure holds true whether you're drawing a driveway hoop or a full gymnasium, since it's the one dimension that stays fixed across every level of the game.
What does change for a residential setup is everything around that rim. Backboard size, pole offset from the baseline, and whether the base is portable, weighted and moveable, or a sleeve set permanently in concrete all vary a lot more in a driveway install than they would in a regulation facility, so the hoop block itself is really a placeholder for where the rim sits rather than a manufacturer-specific drawing of one particular hoop system.
That portable-versus-in-ground distinction matters more for the drawing than it might first seem, because a portable base takes up its own footprint on the ground, often a filled or weighted base roughly a metre across, that a permanently anchored pole doesn't need to account for in the same way. If the setup is portable, I'll draw the base's actual footprint as part of the block placement, not just the pole's centre point, since the base is often the thing that actually determines how close a hoop can sit to a parked car or a fence line. An in-ground system, by contrast, is a much smaller footprint at ground level, just the pole itself, but it's permanent, so getting the location right the first time matters more, since moving a concrete-set pole later is a materially bigger job than sliding a portable base a metre to one side.
Adjustable-height systems and portable-base wind stability
Most residential hoop systems sold today aren't fixed at the regulation ten feet at all, they're adjustable, dropping down to a much lower height for younger kids and climbing back up to full regulation height as they grow into the game, and that's worth accounting for on the drawing rather than assuming a single fixed rim height applies for the life of the installation. What I do in practice is draw the hoop block at its full-height position for clearance purposes, since that's the tallest and most space-demanding configuration the setup will ever be in, and then note on the drawing that the system is height-adjustable if that's genuinely the product being installed, so whoever reads the plan later understands the rim position shown is a maximum rather than a fixed fact.
The backboard itself is the part that actually changes the footprint at lower heights, not just the rim, since a lowered backboard on a portable system usually swings the whole unit slightly closer to vertical or shifts its overhang relative to the base, depending on the specific mechanism, and that's a detail worth checking against the actual product being installed rather than assumed from the block alone. If the household plan is genuinely to raise the hoop over several years as a child grows, it's worth drawing the clearance zone generously enough from the outset to cover the full-height configuration, rather than sizing the driveway layout around a lowered height that will be outgrown within a season or two.
Wind and stability are the other thing worth a mention for any portable base, particularly on an exposed driveway or a backyard without much shelter from surrounding structures. A portable base relies entirely on its own weighted footprint to stay upright, unlike an in-ground pole which is anchored below grade, so a portable hoop installed somewhere genuinely exposed to wind needs a base filled to the manufacturer's actual recommended weight, not just partially filled because it seemed heavy enough to stand on its own in a still garage. I've seen a portable base tip in a strong gust because it was only ever tested standing still indoors before being wheeled out to a genuinely exposed driveway corner, and that's a real safety issue with a rim and backboard involved, not just a cosmetic one, so it's worth treating the fill weight as a real spec to follow rather than a rough guess.
Driveway placement: the hoop is competing with a parked car
On a driveway, the hoop is almost always competing with a parked car for the same strip of concrete, and that's the first thing I check before placing the block. A standard residential parking space typically runs somewhere in the 2.4 to 2.7 metre width range, and a driveway wide enough for one car to park comfortably rarely leaves enough side clearance for a full-speed drive to the basket without the shooter's path crossing where a parked car's mirror or door would sit. The realistic fix, and the one I draw most often, is offsetting the pole to one side of the driveway rather than centring it, so the playable lane runs down the open side of the slab while a car can still park along the other.
The other driveway-specific check is overhead clearance, specifically power lines and roof overhangs, which don't show up on a plan-view drawing at all unless you deliberately note them. A backboard mounted too close to a garage roofline or a low utility line is a genuinely common real-world mistake, and it's one a flat site plan won't catch unless you add a note or call out the vertical clearance separately.
Backyard placement: more freedom on position, less paved surface to work with
A backyard placement gives more freedom on pole position but usually less flat, paved surface to work with, so the first question becomes whether the court surface itself, concrete, asphalt or a poured sport-tile pad, is being newly built or already exists. If it's a new pour, I'll bring in our paving blocks (paving-block-1 and similar) to lay out the actual playing surface first, then place the hoop block relative to that paved area's edge rather than relative to the lawn, since the transition from grass to hardstanding is really the boundary that matters for play.
Backyard setups also tend to run into fence lines and mature trees in ways driveways don't, and both are worth checking against local setback rules before finalising a placement, since a hoop and backboard positioned right against a property line can create both a safety issue with stray balls and, depending on the area, a compliance issue with side-yard setback requirements. That's a check-your-local-rules item, not something a CAD block can resolve on its own, but it's worth flagging honestly rather than pretending every backyard has unlimited room to work with.
A small storage bin or bench for balls, especially in a backyard setup used by kids, is one of those items that never has a dedicated CAD block but is worth reserving space for on the drawing anyway, since a hoop with nowhere nearby to store the ball tends to end up with the ball rolling into a garden bed or under a car between uses. A metre or so of wall or fence-line space near the hoop, clear of the driving lane itself, is usually enough, and noting it on the plan, even as a simple labelled rectangle, saves it from being an afterthought once the paving is already down.
Full court versus realistic footprint: what most people are actually drawing
It's worth being straightforward about scale here. A regulation basketball court runs 28 by 15 metres under international rules, or 94 by 50 feet under NBA rules, and essentially no residential backyard or driveway comes close to that footprint. What people are actually drawing, almost without exception, is a single hoop and a partial playing surface, sometimes just enough concrete for a half-key and free-throw distance, sometimes literally just the pad the hoop's base sits on. That's a completely legitimate thing to plan for, but it's worth not letting the phrase "backyard basketball court" imply a scaled-down regulation court, because in practice it almost never is one, it's a hoop plus however much paved space the property genuinely allows.
If there's enough paved surface for more than just the hoop and a bit of run-up room, painted court markings, a free-throw line, a key, maybe a portion of a three-point arc, are usually the next addition people ask about. Those are markings you'd paint directly onto the finished surface rather than insert as a block, so on the CAD drawing they're usually shown as simple lines with a note calling out the paint colour and finish, rather than anything more elaborate.
Drafting habits for a hoop site plan
For a site plan like this, I keep the hoop block on its own layer, separate from paving, planting and the building footprint, and I always drop in a north arrow, there are 57 real north-arrow blocks in our building-symbols category, so there's no shortage of styles to pick from, since a site plan without orientation is genuinely hard for anyone else to read later, whether that's a landscaper, a contractor pouring concrete, or the property owner years from now trying to remember why the hoop sits where it does. A human-figure-plan block dropped in at the free-throw line is also a quick, useful sanity check on whether the paved run-up distance actually reads as usable, the same way it does in any of our other equipment layouts.
Lighting and surface finish for backyard courts
An outdoor hoop setup, especially a backyard one meant for evening play, often needs a lighting note even though we don't carry an area-lighting block for sports courts specifically, since a single wall-mounted floodlight is usually enough for a driveway hoop but a proper backyard pad benefits from at least two fixtures angled to reduce shadow across the key. Surface finish is worth a note too, poured concrete, asphalt, or a rubberised sport-tile surface each play differently underfoot and each carries a different maintenance and cost profile, so calling out the intended surface directly on the drawing, even as a simple label rather than a specific material block, saves a round of questions later from whoever is actually pouring the pad.
Checking the surrounding surfaces before you finalise placement
Before locking in a hoop position, it's worth walking the actual clearance zone on the ground rather than trusting the drawing alone, especially for a driveway install where a car door, a mailbox, or a garden bed can sit just outside the plan's field of view but well within the ball's actual bounce radius during play. I've had installs where the drawing looked clean but the real driveway had a slight slope toward the garage that nobody had accounted for, and a sloped surface changes both dribbling and rebound behaviour in a way a flat plan view simply won't show. None of that shows up in a top-down CAD drawing, which is exactly why a site visit, or at minimum a level check with a straightedge or a laser level, is worth doing before the concrete gets poured or the pole gets set.
Common pitfalls in driveway and backyard hoop placement
The most common pitfall is treating rim height as the only fixed number and eyeballing everything else, when in a driveway or backyard setting almost everything except the rim height is site-specific and needs checking against the actual property rather than assumed from a generic layout. Overhead clearance is the one people forget most, because a plan-view drawing simply doesn't show vertical obstructions unless you deliberately annotate them.
The second is underestimating how much flat, paved run-up space a hoop actually needs to be genuinely playable rather than just technically present. A hoop bolted to the edge of a narrow driveway with nowhere to drive toward the basket is a hoop nobody uses after the first week.
And the third, worth stating plainly, is assuming a "backyard court" drawing implies more than it does. Draw what the property can actually hold, hoop, paved pad, maybe a portion of a key if there's room, and don't let the drawing imply a full regulation court unless the lot genuinely has the 28 by 15 metres, or 94 by 50 feet, to support one.
Further reading
Questions
Frequently asked
What's the regulation height for a basketball rim?+
Ten feet, or 3.05 metres, measured from the playing surface to the top of the rim, and that figure is constant whether you're drawing a driveway hoop or a full court.
Do you have a full basketball court block, or just the hoop?+
We carry two basketball-hoop blocks (basketball-hoop-1, basketball-hoop-2) for the hoop and backboard itself. A full regulation court runs 28 by 15 metres and isn't something most residential drawings need, so we don't carry a dedicated full-court block.
How wide should a driveway be to fit a hoop and still park a car?+
A single parking space typically needs around 2.4 to 2.7 metres of width, so unless your driveway is noticeably wider than that, offsetting the hoop's pole to one side rather than centring it usually keeps both parking and play workable on the same slab.
What other blocks help finish a driveway or backyard court drawing?+
Paving blocks (paving-block-1 and similar) for the playing surface, north-arrow blocks for site orientation, and a human-figure-plan block to sanity-check run-up distance are the ones reached for most alongside the hoop itself.
Free downloads from this article

Free CAD block library
Download the blocks from this article — free, no signup


