Adjustable weight bench CAD blocks for a gym floor plan
Sizing and spacing adjustable weight bench CAD blocks correctly in a gym floor plan, from flat to incline footprint and rack clearance.
Sumana KumarUpdated 15 May 20265 min read
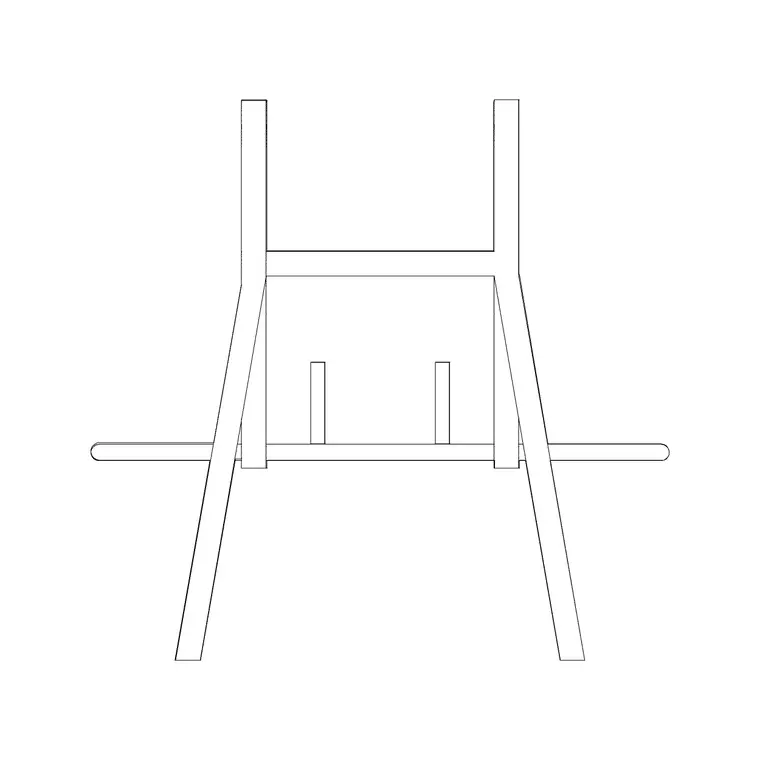
A small block that causes outsized layout problems
The adjustable weight bench is one of the smallest pieces of equipment on a gym floor plan and, in my experience, one of the most consistently under-spaced, because on paper it's just a narrow rectangle and it's tempting to slot it into whatever gap is left over once the bigger machines are placed. That's backwards. A bench's footprint on the drawing barely changes whether it's flat or inclined, but the working space a lifter and a spotter actually need around it changes a lot, and that difference is exactly what a rushed layout tends to miss.
The footprint itself, and why it's smaller than it feels
An adjustable bench in plan is typically in the range of 1100mm to 1300mm long and 300mm to 450mm wide, which reads as a small object next to a treadmill or a full rack, but that compact footprint is misleading, because the bench is almost never used in isolation. Most benches on a gym floor sit paired with a rack or a set of dumbbells within easy reach, so the effective footprint you're really planning for is the bench plus whatever it's paired with plus the movement space around both, not the bare bench dimension on its own.
Spacing for a spotter, not just the lifter
The clearance rule I actually apply is spacing for two people, not one, since a bench press or an incline movement commonly involves a spotter standing at the head end, and that person needs genuine standing and reaching room that a lifter alone wouldn't require. I typically hold clear space at both the head and the working side of a bench well beyond the bare footprint specifically for that reason, and I check it the same way I'd check any tight zone on a plan, by placing a second figure at the position a spotter would actually stand rather than assuming the gap between benches is automatically enough.
Rows of benches versus paired stations
A commercial gym floor often wants benches arranged in a row facing a mirror wall, and rows are where spacing mistakes compound fastest, because a gap that's fine for one bench gets multiplied by every bench in the row, and a small shortfall per station adds up to a genuinely cramped free weight zone by the time you're five or six benches in. I'll usually mock up a full row at true scale before committing to a spacing figure, rather than spacing the first two benches by feel and repeating that gap blindly down the wall, because the row either works as a system or it doesn't, and that's much easier to see once every bench is actually on the drawing.
What sits around the free weight zone
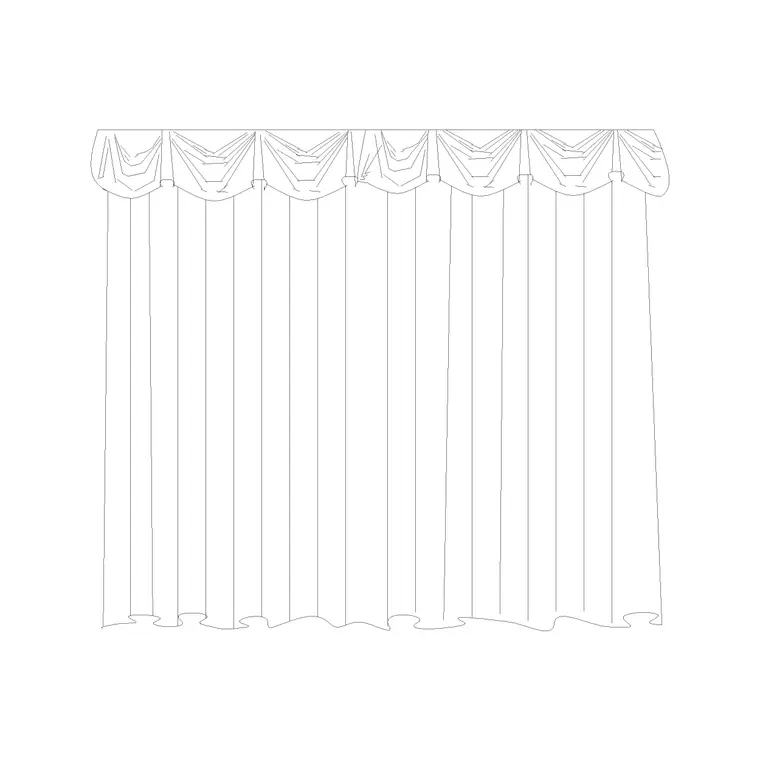
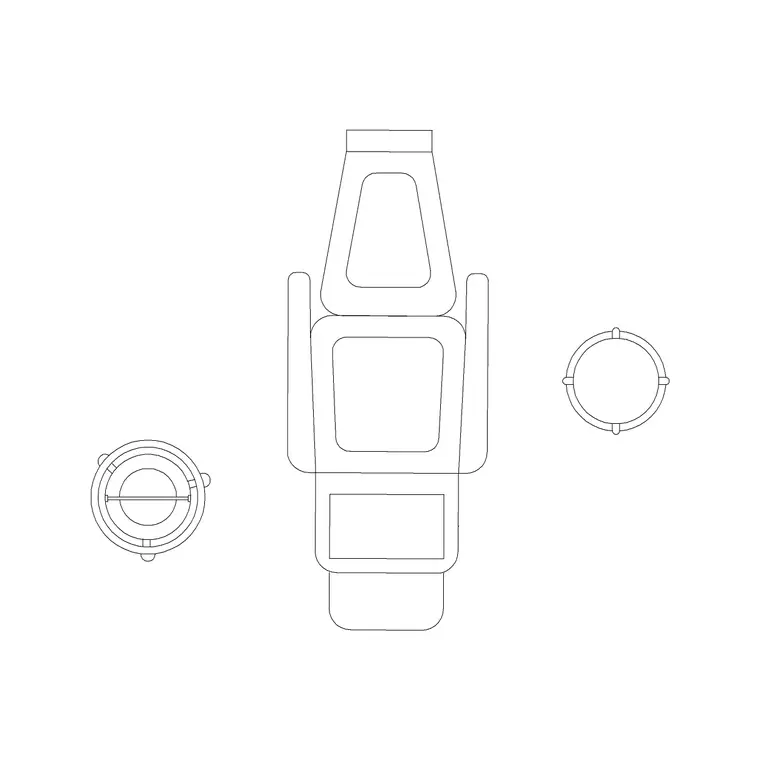
Benches rarely sit alone on a floor plan, they're usually grouped with a general gym equipment block for racks, plate storage or a cable station nearby, and I keep that whole zone visually distinct on its own layer so it reads as a coherent area rather than scattered furniture. If the free weight zone backs onto a window, a curtain or blind block is worth including for glare control, since mirrors and low winter sun through unscreened glass is a genuinely common complaint in gyms that skipped this at the design stage. And if there's a stretching or recovery corner nearby, a recliner style seat gives a realistic footprint for that zone rather than leaving it as leftover space.
A dumbbell rack sitting opposite or alongside the bench row deserves its own dimensioned footprint too, rather than being treated as background furniture, since a tiered rack is typically somewhere in the range of 1200mm to 1800mm long and 400mm to 500mm deep depending on capacity, and the aisle between the rack and the bench row needs enough clearance for someone to select a pair of dumbbells and step back into their working position without colliding with another lifter mid set. I also keep a consistent setback from any mirror wall in this zone, since mirrors are typically mounted close to the wall face with no protruding hardware, but a bench or rack pushed hard against a mirrored wall leaves no margin for someone stepping back to check their form, which somewhat defeats the purpose of having the mirror there in the first place.
Checking the layout holds up at real scale
The last check I run, every time, is confirming the whole free weight zone at true scale against the room, not just the individual bench dimension against a spec sheet number. It's easy for a block to look correctly sized in isolation and still produce a cramped result once it's surrounded by racks, mirrors and a walkway, so I walk the full zone on the plan the way a member actually would, checking that a person can move from bench to rack to walkway without squeezing past someone else mid set. That walk through check, done on the drawing before anything's built, is what actually separates a gym floor that feels spacious from one that just measures that way on paper.
Incline, decline and the range a flat plan block doesn't fully show
An adjustable bench's whole point is that it moves through a range from flat to a steep incline and sometimes a decline position, but the plan block you insert is almost always drawn in one fixed position, usually flat, and it's worth remembering that the block is a representative footprint rather than a literal picture of every angle the bench can reach. In practice the plan footprint barely changes across the range since the bench's base stays put and only the backrest angle shifts, so the flat block is a safe stand in for spacing purposes, but the working envelope above the bench changes meaningfully, an incline press pushes the lifter's head and shoulders higher and further back than a flat press does, which matters if there's a low ceiling feature, a light fitting, or a mirror positioned close behind the bench's head end. I'll check ceiling height at the head end of any bench positioned under a sloped ceiling or a lowered bulkhead specifically for this reason, since it's a clash that a flat plan view genuinely can't reveal and one that only shows up once someone's actually reclining on an incline setting and finds their head closer to the ceiling than expected.
Further reading
Questions
Frequently asked
What's a typical footprint for an adjustable weight bench CAD block?+
Usually in the range of 1100mm to 1300mm long and 300mm to 450mm wide, though that bare footprint understates the real space needed, since a bench is almost always used with a spotter and paired equipment nearby.
How much clearance does a bench need for a spotter, not just the lifter?+
I typically hold clear space at both the head end and the working side well beyond the bench's bare footprint, enough for a second person to stand and move freely, and I check it by placing an actual figure at the spotter position rather than assuming a gap is sufficient.
Why do rows of benches need more careful spacing than a single bench?+
Because any small shortfall in the gap between two benches gets repeated down the entire row, so a spacing figure that looks fine for one pair can compound into a genuinely cramped free weight zone by the fifth or sixth bench, which is why it's worth mocking up the full row at scale before committing to a number.
Free downloads from this article
Free CAD block library
Download the blocks from this article — free, no signup


