Grab bar and accessible fixture placement in a bathroom plan
Typical grab bar heights, fixture clearances, and how to lay out an accessible bathroom in CAD without guessing at positions.
Saumyajit MaityUpdated 9 May 20265 min read
Walk into any accessible bathroom and the grab bars tell the story
Walk into any properly designed accessible bathroom and the grab bars are usually the first thing that tells you whether the rest of the room was actually thought through, because they only work if they're positioned relative to the fixture they're serving, at the right height, on the right wall, with the right length, and a bar that's technically present but mounted in the wrong spot is barely more useful than no bar at all. I've drafted enough of these to know the grab bars are never the hard part on their own, the hard part is coordinating them with the toilet, the basin, and the turning space all at once, because moving any one of those four things usually forces you to move at least one of the others.
Typical mounting heights and positions
Grab bar heights are one of the more consistent figures across different accessibility codes, and they typically fall in a fairly narrow band, commonly cited somewhere around 800 to 900mm (roughly 31 to 35 inches) above the finished floor, measured to the top of the gripping surface. Near a toilet, most guidance calls for a horizontal bar on the wall behind the fixture and a second bar on the nearest side wall, positioned at a set distance out from the centerline of the toilet, often in the range of 300 to 400mm, so a person can reach it while seated without overreaching sideways.
Bars themselves typically need a minimum length, often in the range of 600 to 900mm for a side bar near a toilet, longer for a bar inside a shower or bath, and a clearance gap behind the bar off the wall face, usually somewhere around 38 to 50mm, so a hand can wrap around it properly. These are working ranges, and the code governing your project may specify tighter tolerances, so treat this section as a starting point for layout, not a final spec.
Vertical grab bars, mounted alongside a horizontal bar rather than replacing it, are increasingly common near toilets and showers specifically to help with the standing or pivoting motion some users need, and they typically follow their own height range for the top and bottom of the bar rather than the single height figure that applies to a horizontal bar, so it's worth checking both bar types separately if a fixture calls for a combination rather than a single horizontal run.
Laying it out against the fixture, not the wall
What I actually do when I'm drafting one of these bathrooms is start from the fixture centerlines, the toilet, the basin, and if there is one, the shower or bath, and build the grab bar positions and the turning circle outward from those centerlines rather than starting from the walls inward. It's a small change in sequence but it matters, because grab bar position is defined relative to the fixture in every code I've worked with, not relative to the room, so designing wall-first tends to produce a layout that looks fine until you actually dimension the bars against the toilet and find they're off by a hundred millimetres.
I keep the turning circle, the fixture clearances, and the grab bar positions on separate layers during design, mainly because it makes it much faster to spot a conflict, for instance a grab bar bracket that lands exactly where a cabinet was about to go, before it becomes a coordination problem on site.
Basin and counter clearances in the same room
The basin in an accessible bathroom usually needs knee and toe clearance beneath it, which means a wall-hung or bracket-mounted basin rather than one sitting on a full cabinet base, and the rim height typically needs to sit lower than a standard vanity, often in a similar range to accessible counter heights generally. This is worth checking alongside counter and vanity height standards specifically if the bathroom includes a combined vanity unit, since the basin height and the turning space beneath it are usually reviewed together rather than as separate items.
Common coordination mistakes
The most frequent issue I see is a grab bar landing directly behind a towel rail, soap dish, or other fixture that was added to the drawing later without cross-checking the bar positions, which either forces a relocation or leaves two fixtures fighting for the same wall space. The second is forgetting that grab bars need solid blocking behind the finished wall surface, which is a construction detail rather than a drafting one, but it's worth a note on the drawing so it doesn't get missed once the wall framing is closed up. The third, and this one is purely a drafting habit, is dimensioning grab bars from the finished floor in elevation but never checking that dimension against the door swing and turning circle in plan, which can leave a bar technically at the right height but positioned somewhere a wheelchair user can't actually reach it from.
Shower and bath grab bars specifically
Grab bars inside a shower or bath enclosure follow the same underlying height logic as the bars near a toilet, but the positions are usually specified relative to the shower seat or the bath rim rather than a fixture centerline, and a roll-in shower with no curb typically needs its own turning space check inside the enclosure itself, not just in the room outside it. I always draft the shower grab bars as a separate detail from the toilet grab bars, even in a small bathroom where they end up close together, because the reference points are different and combining them into one generic 'bathroom grab bar' note tends to produce a bar position that's correct for neither fixture specifically.
Blocks for building the layout
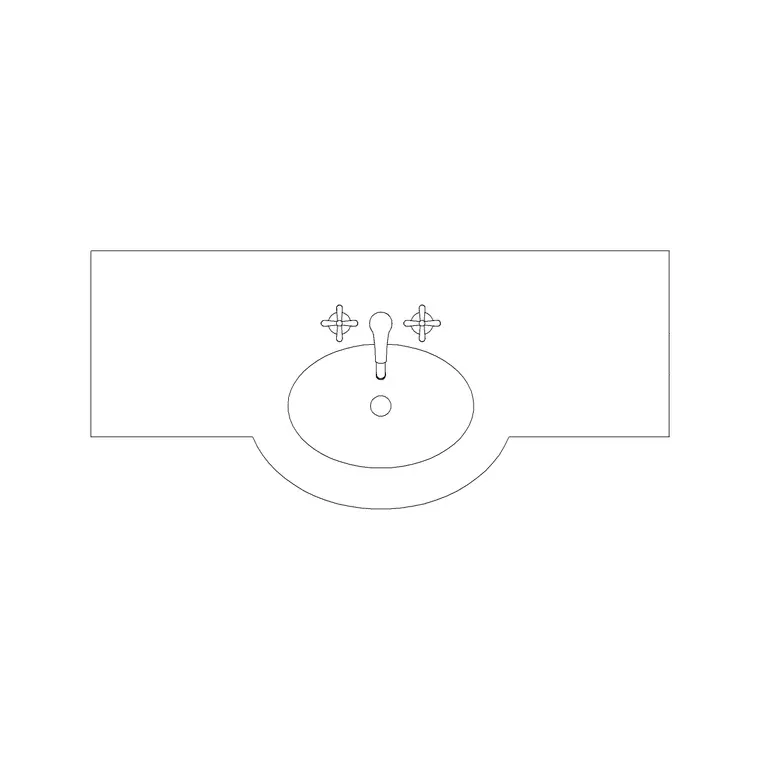
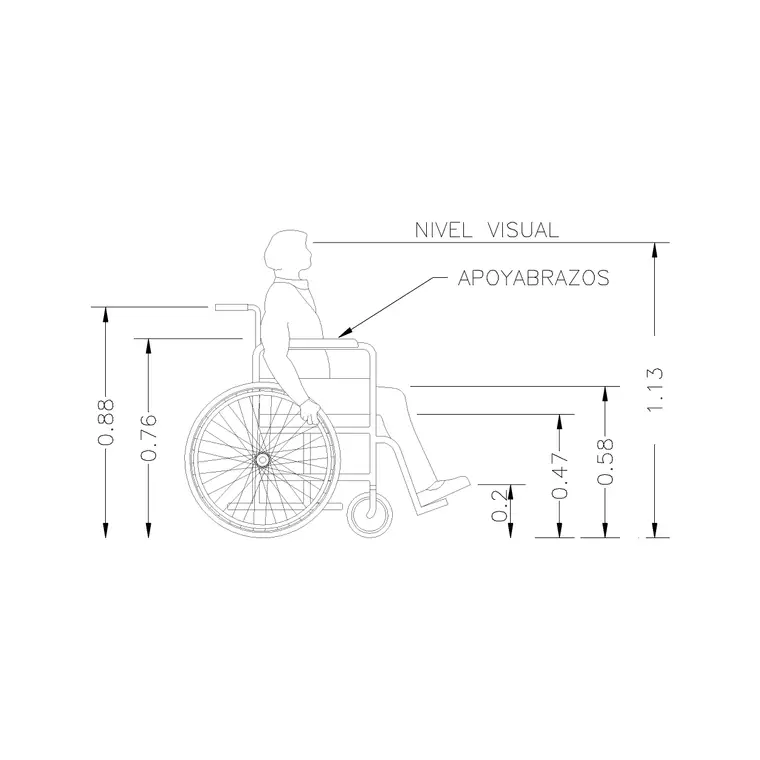
The vanity-single-basin-1 block under the bathroom category is a solid starting point for the basin itself, sized for a realistic single-basin footprint you can adjust rather than redraw from scratch. Add a wheel-chair-accessible block to check the turning space and approach to each fixture, and a human-figure-disable block seated at the basin or toilet position to sanity-check the grab bar heights visually against a figure rather than a dimension string alone, since that combination tends to catch positioning issues faster than checking numbers against a code table.
Further reading
Questions
Frequently asked
What is a typical grab bar mounting height?+
Grab bars are commonly mounted with the top of the gripping surface around 800 to 900mm above the finished floor, though the exact figure and required clearance behind the bar vary by code, so confirm against the standard governing your project.
Should grab bars be positioned relative to the wall or the fixture?+
Relative to the fixture. Most codes define grab bar position as a set distance from the toilet, basin, or shower centerline, so it's best to lay out fixtures first and build grab bar positions outward from there rather than starting from the room walls.
What CAD blocks help draft an accessible bathroom layout?+
The vanity-single-basin-1 block gives you a realistic basin footprint, and pairing it with a wheel-chair-accessible block and a human-figure-disable block helps check turning space and grab bar heights visually against the fixture layout.
Free downloads from this article

Free CAD block library
Download the blocks from this article — free, no signup

